top of page

Autonomous Vent
A temperature-controlled system using an ESP32 to actuate a 3D printed system. Featuring aTB6600 stepper driver, NEMA 23 stepper motor, DHT11, LEDs, switches, and smart heating/cooling logic, through trial and error it achieved its goal of being able to control a rooms temperature, in real time.
Project type
Prototype Design
Date
June 2026
Location
Columbia, MO

01
Autonomous Vent

01
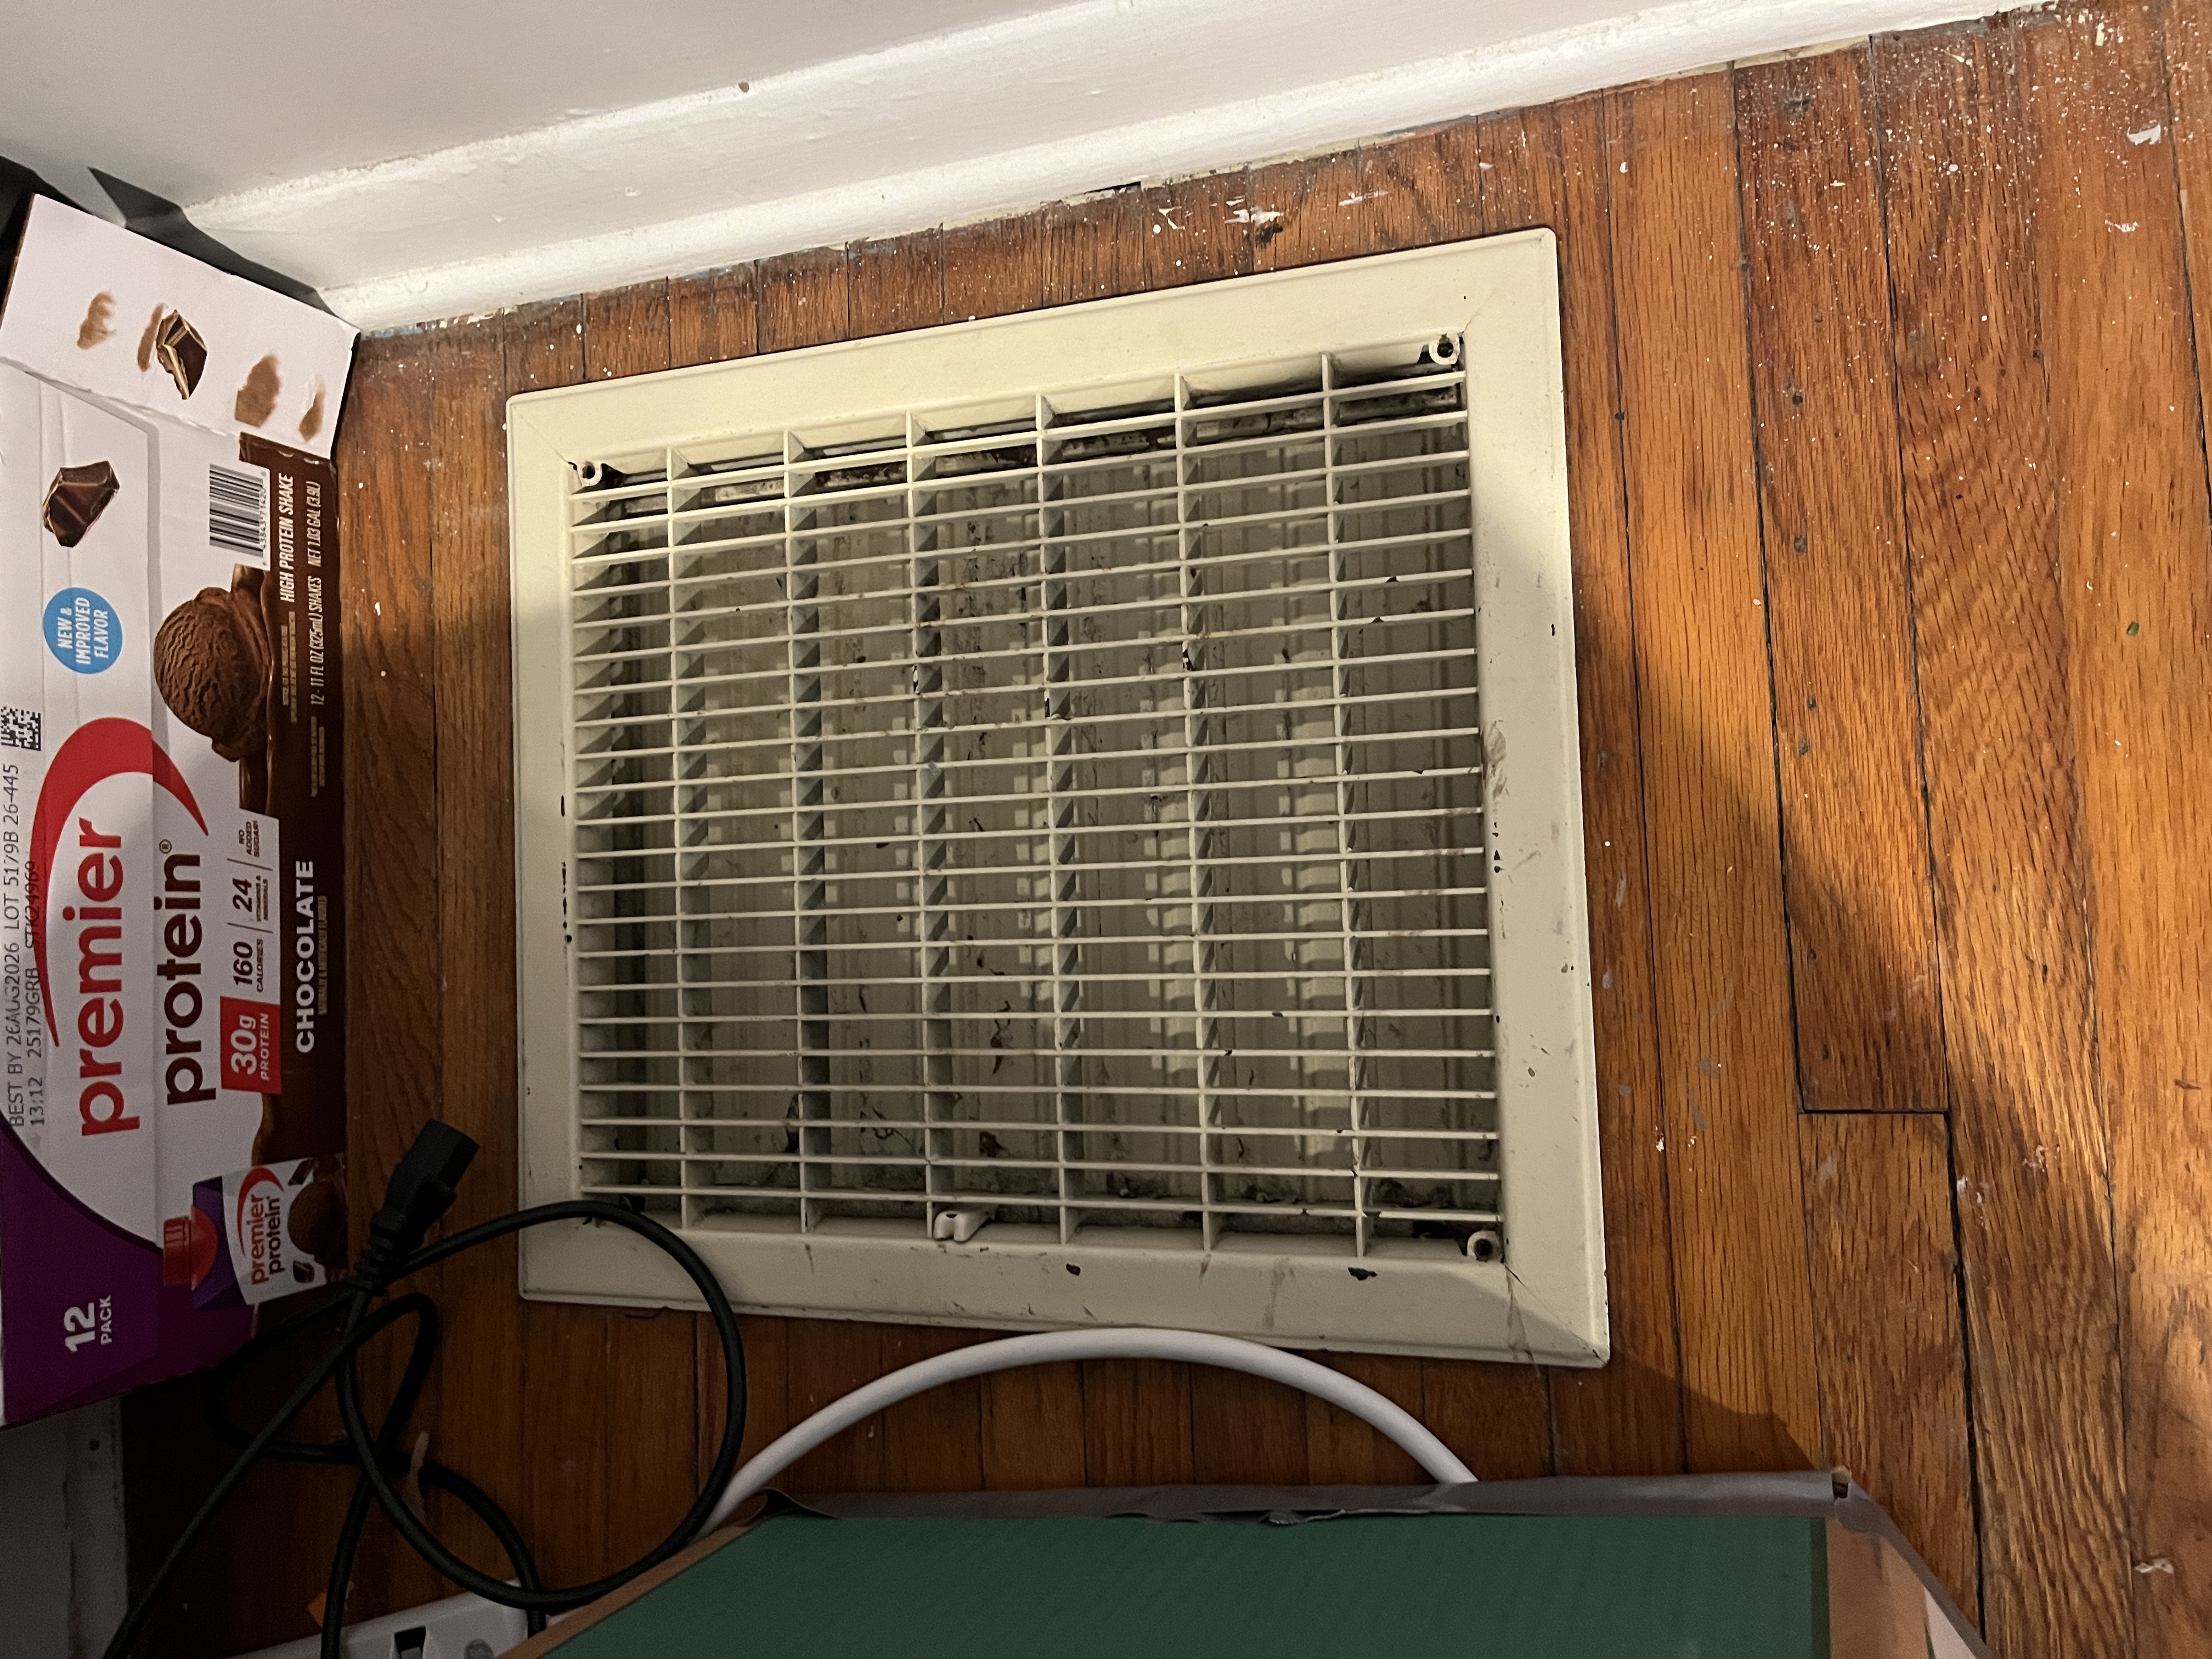
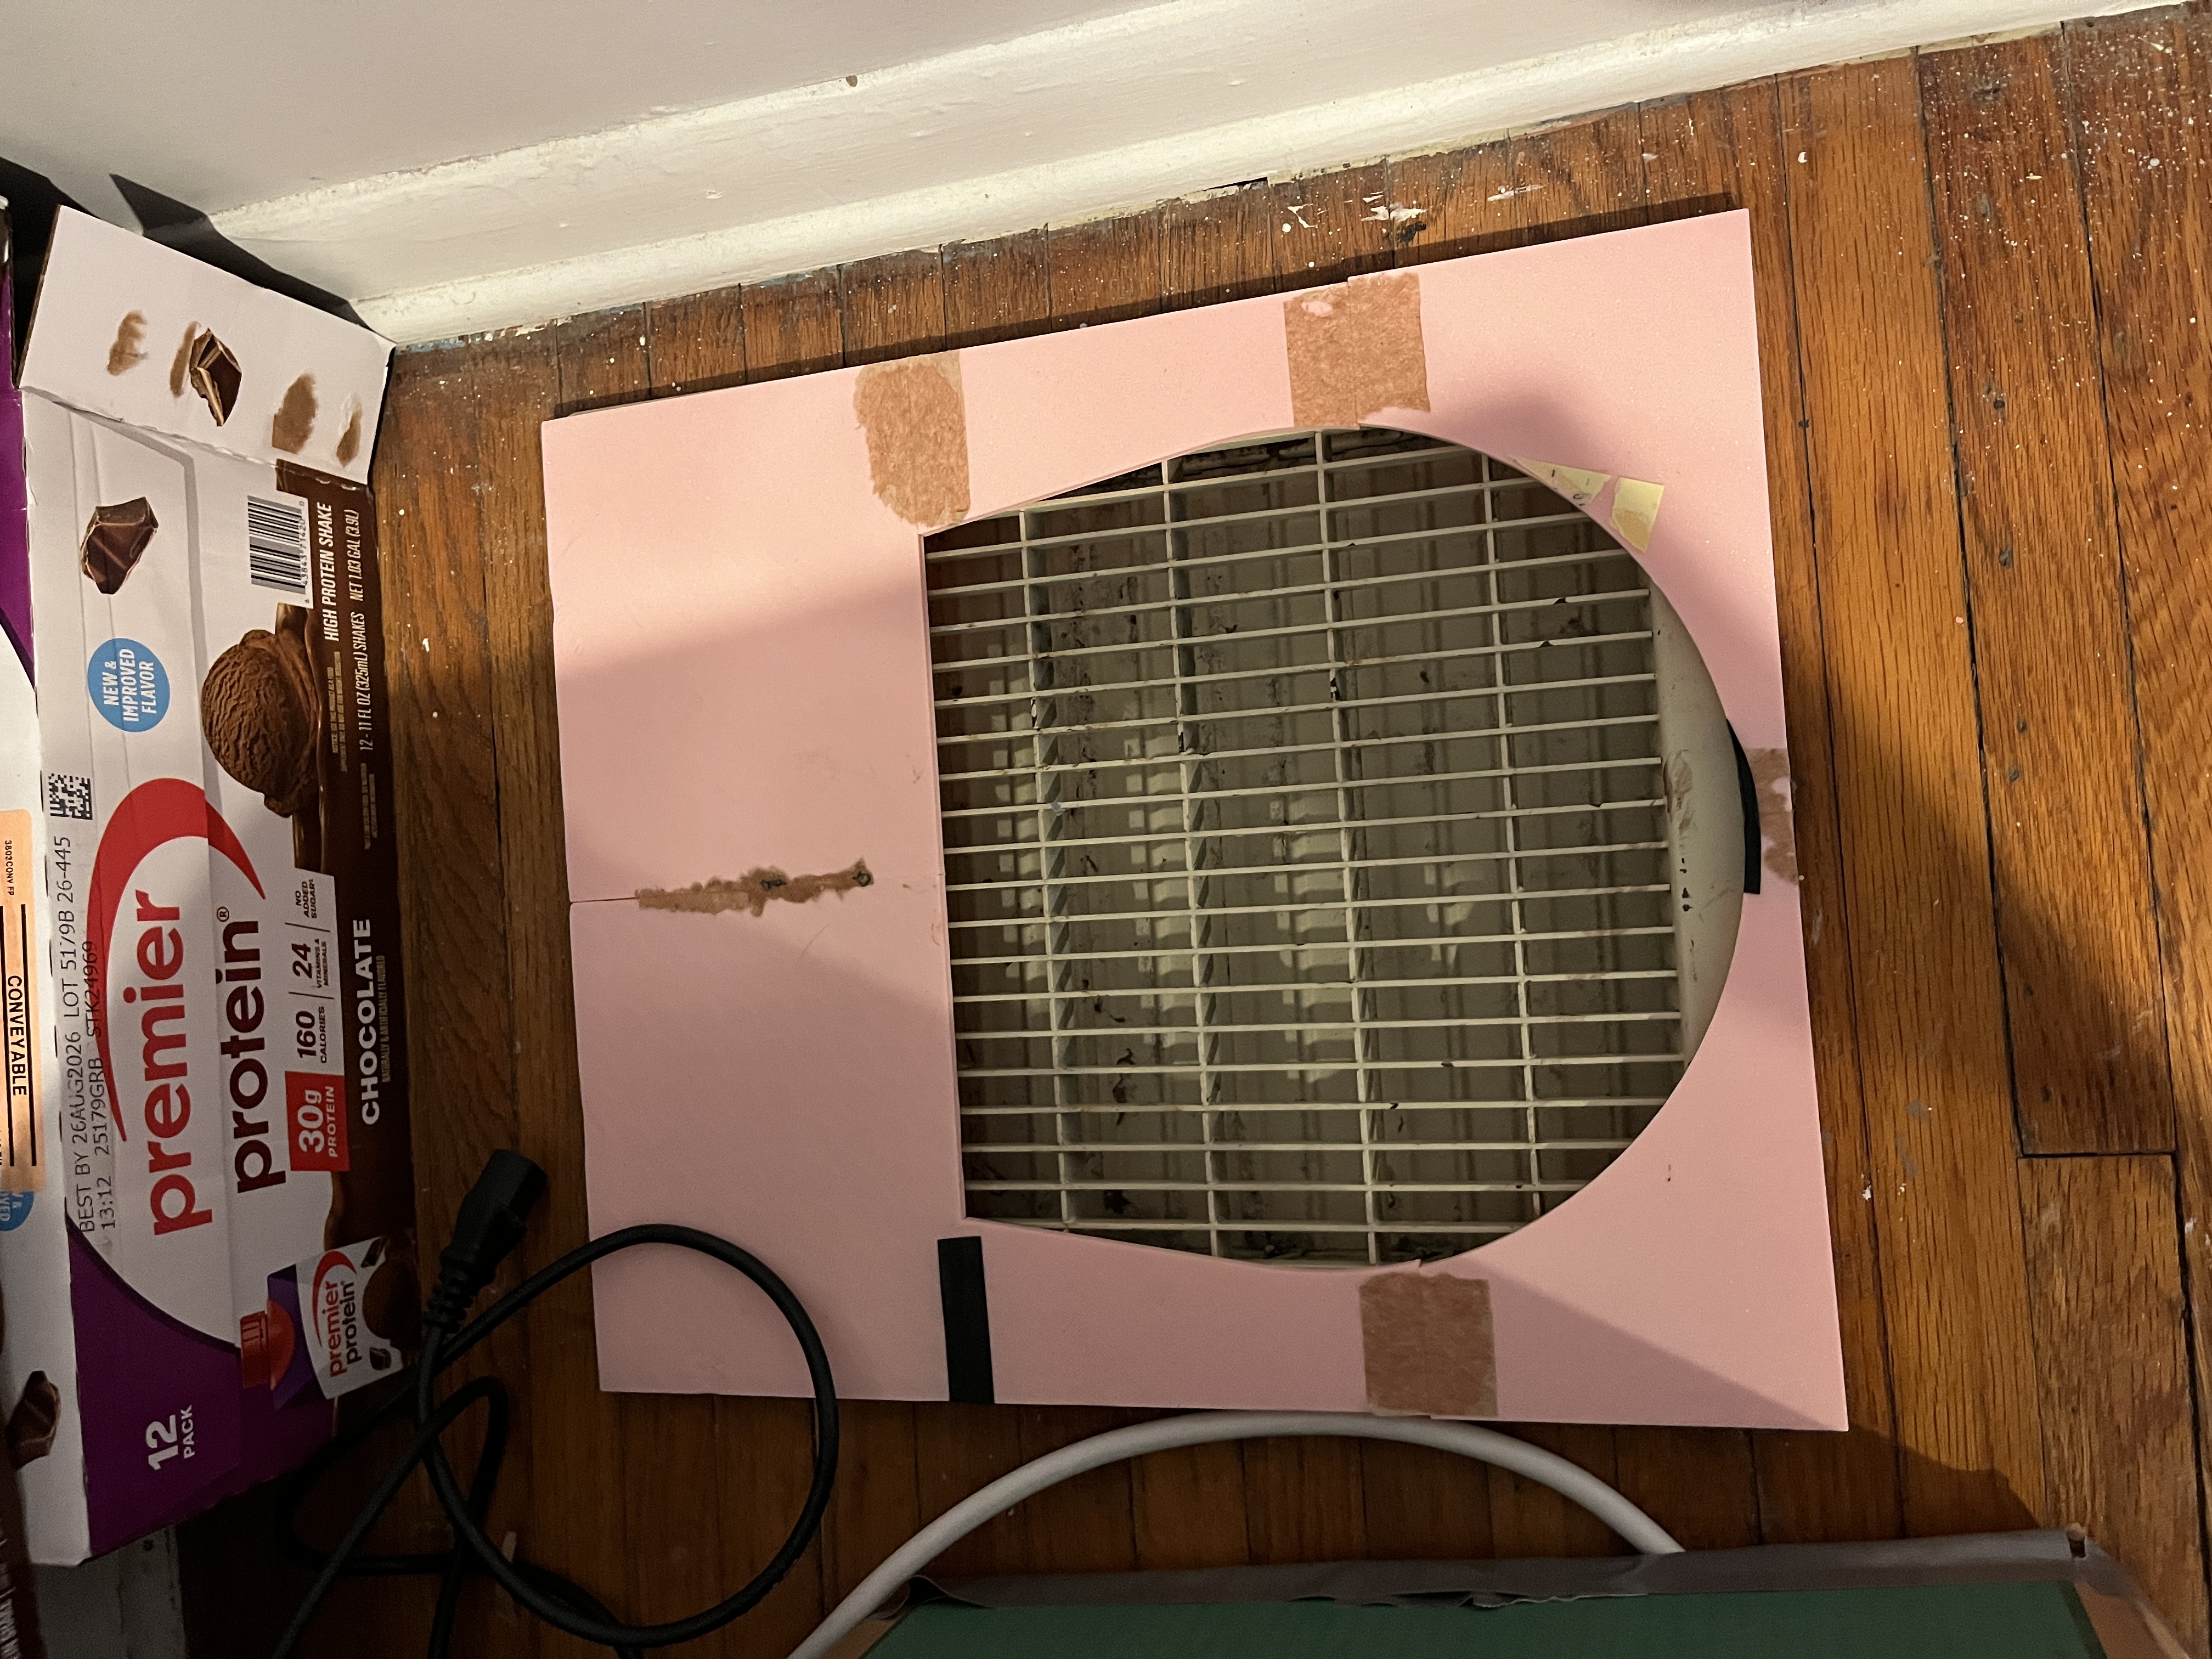
The Vent in Question
Pictured here is the vent that causes all the issues in my room. Its too hot, and its too cold. And worst of all, I have to actuate the dampener myself. So I wanted to fix that, so I bought a 3D printer and started thinking.

02
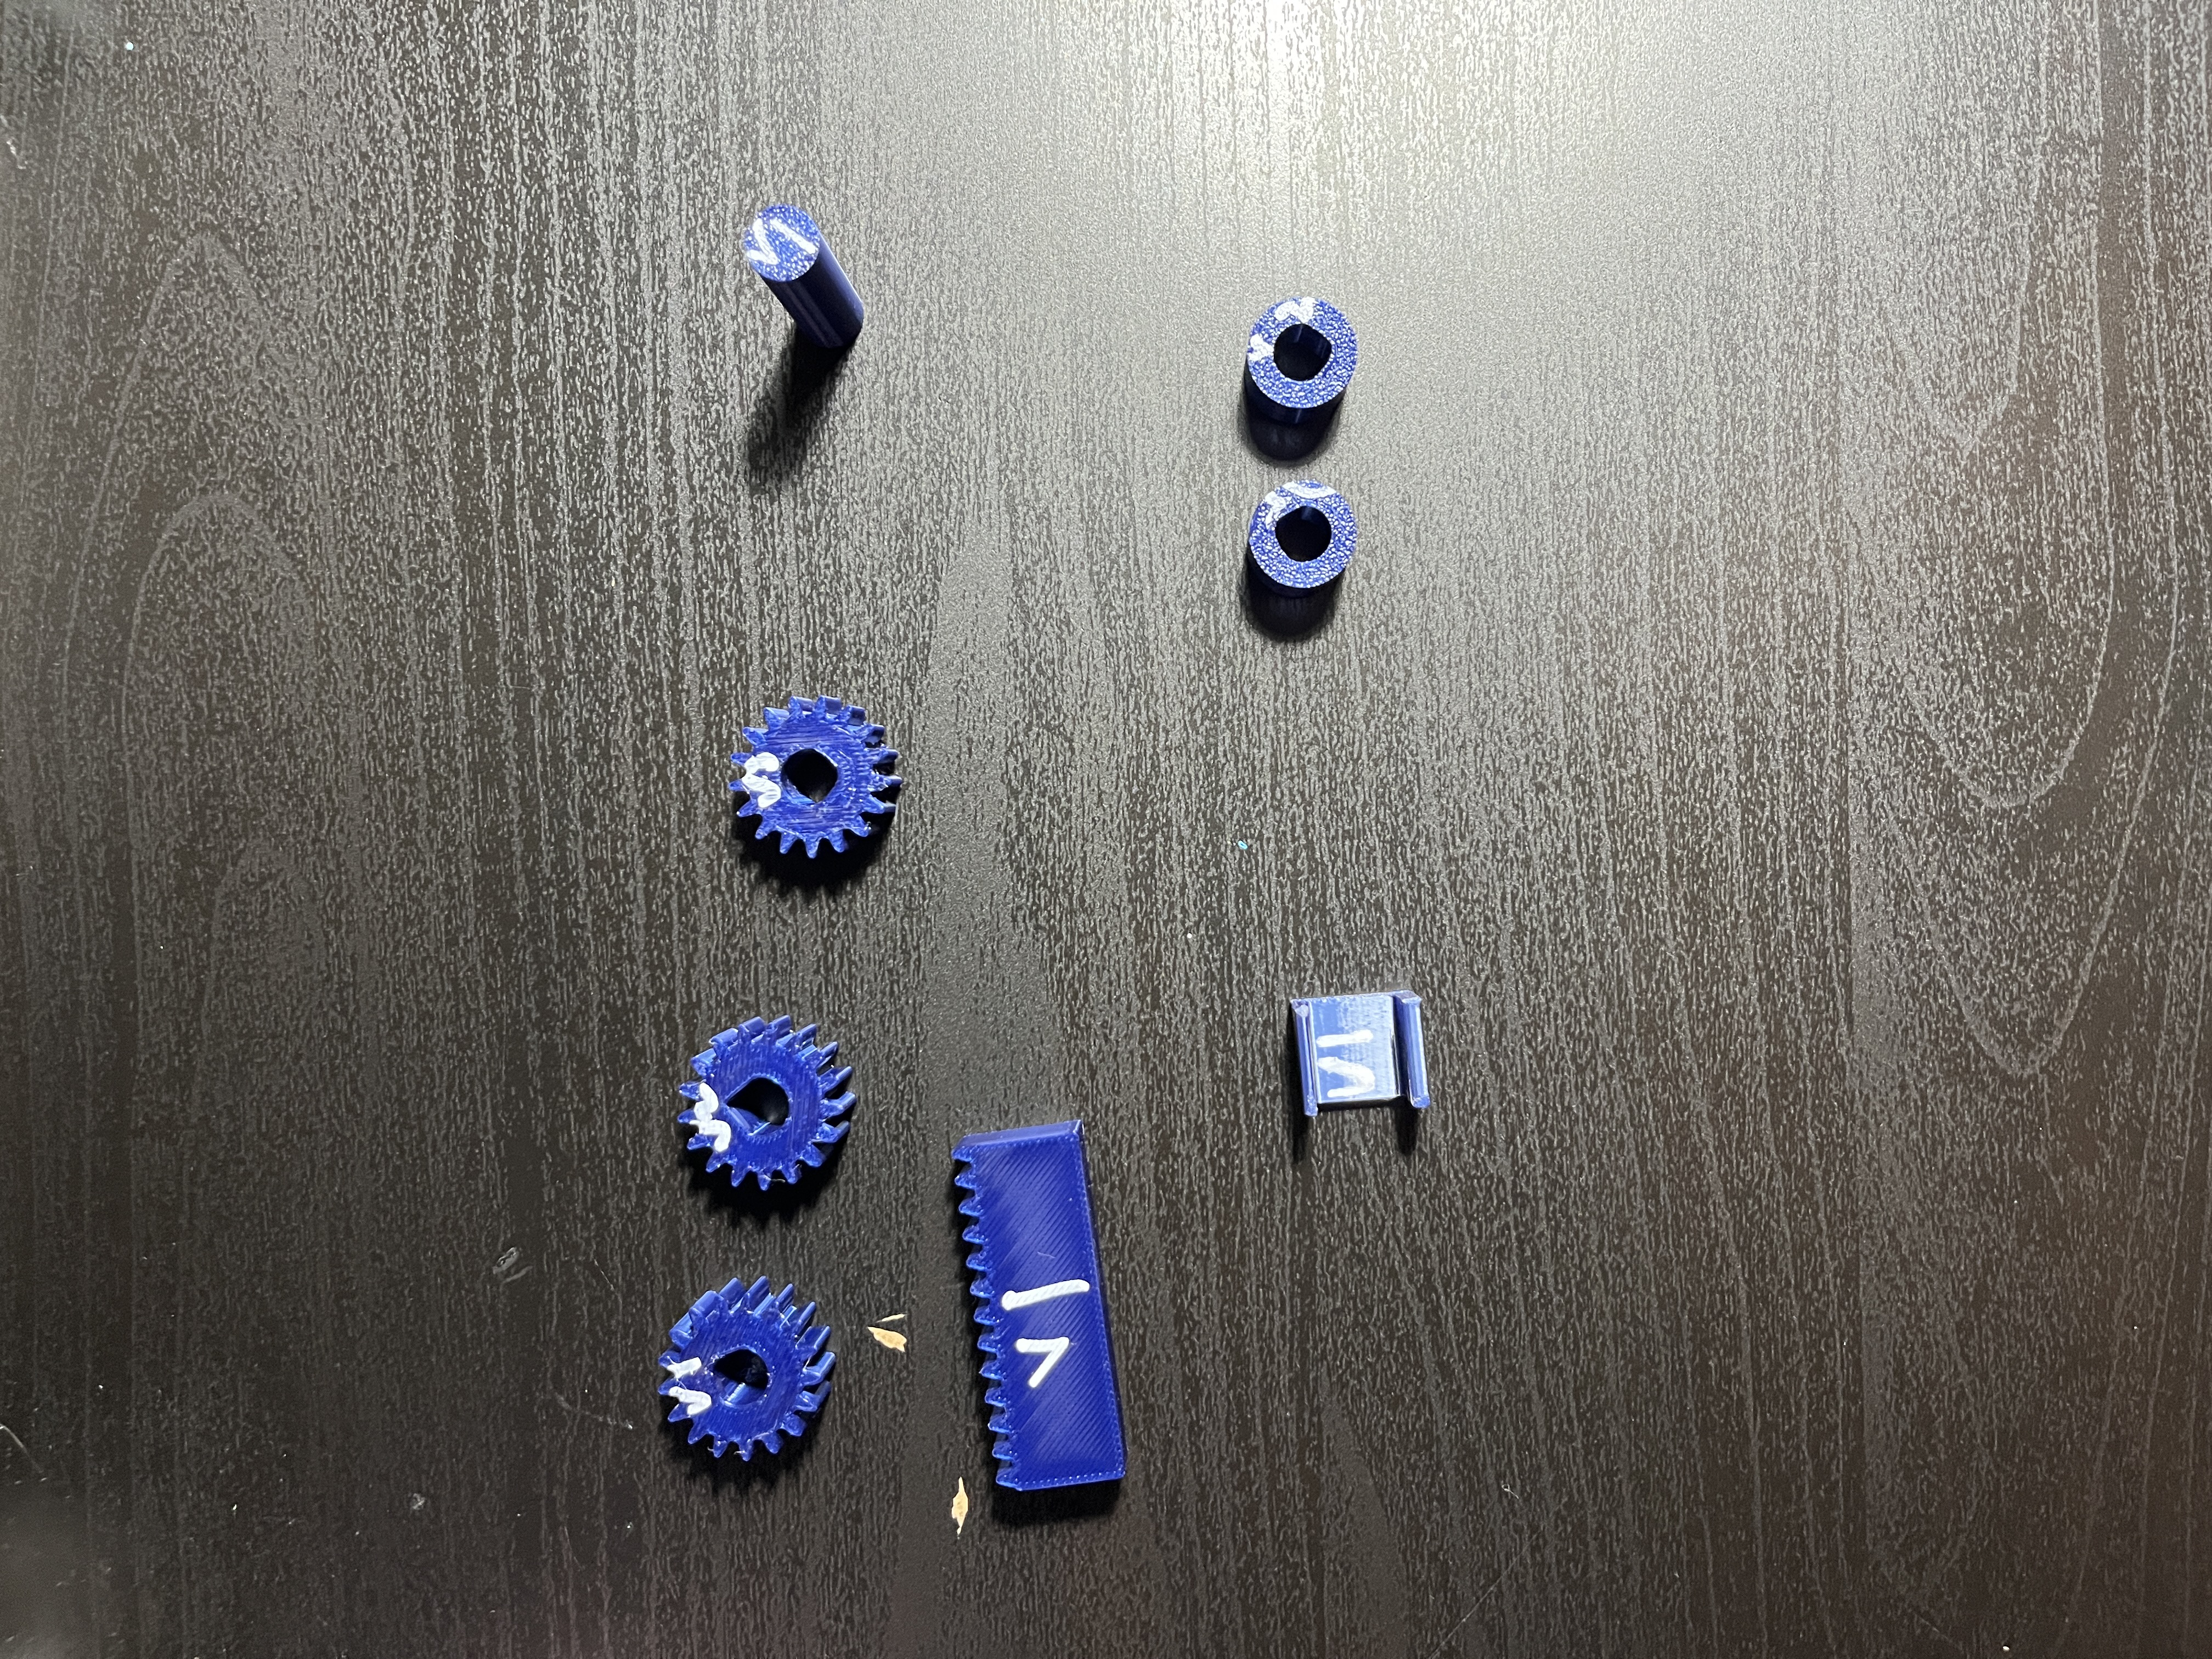
Initial Design Prototype
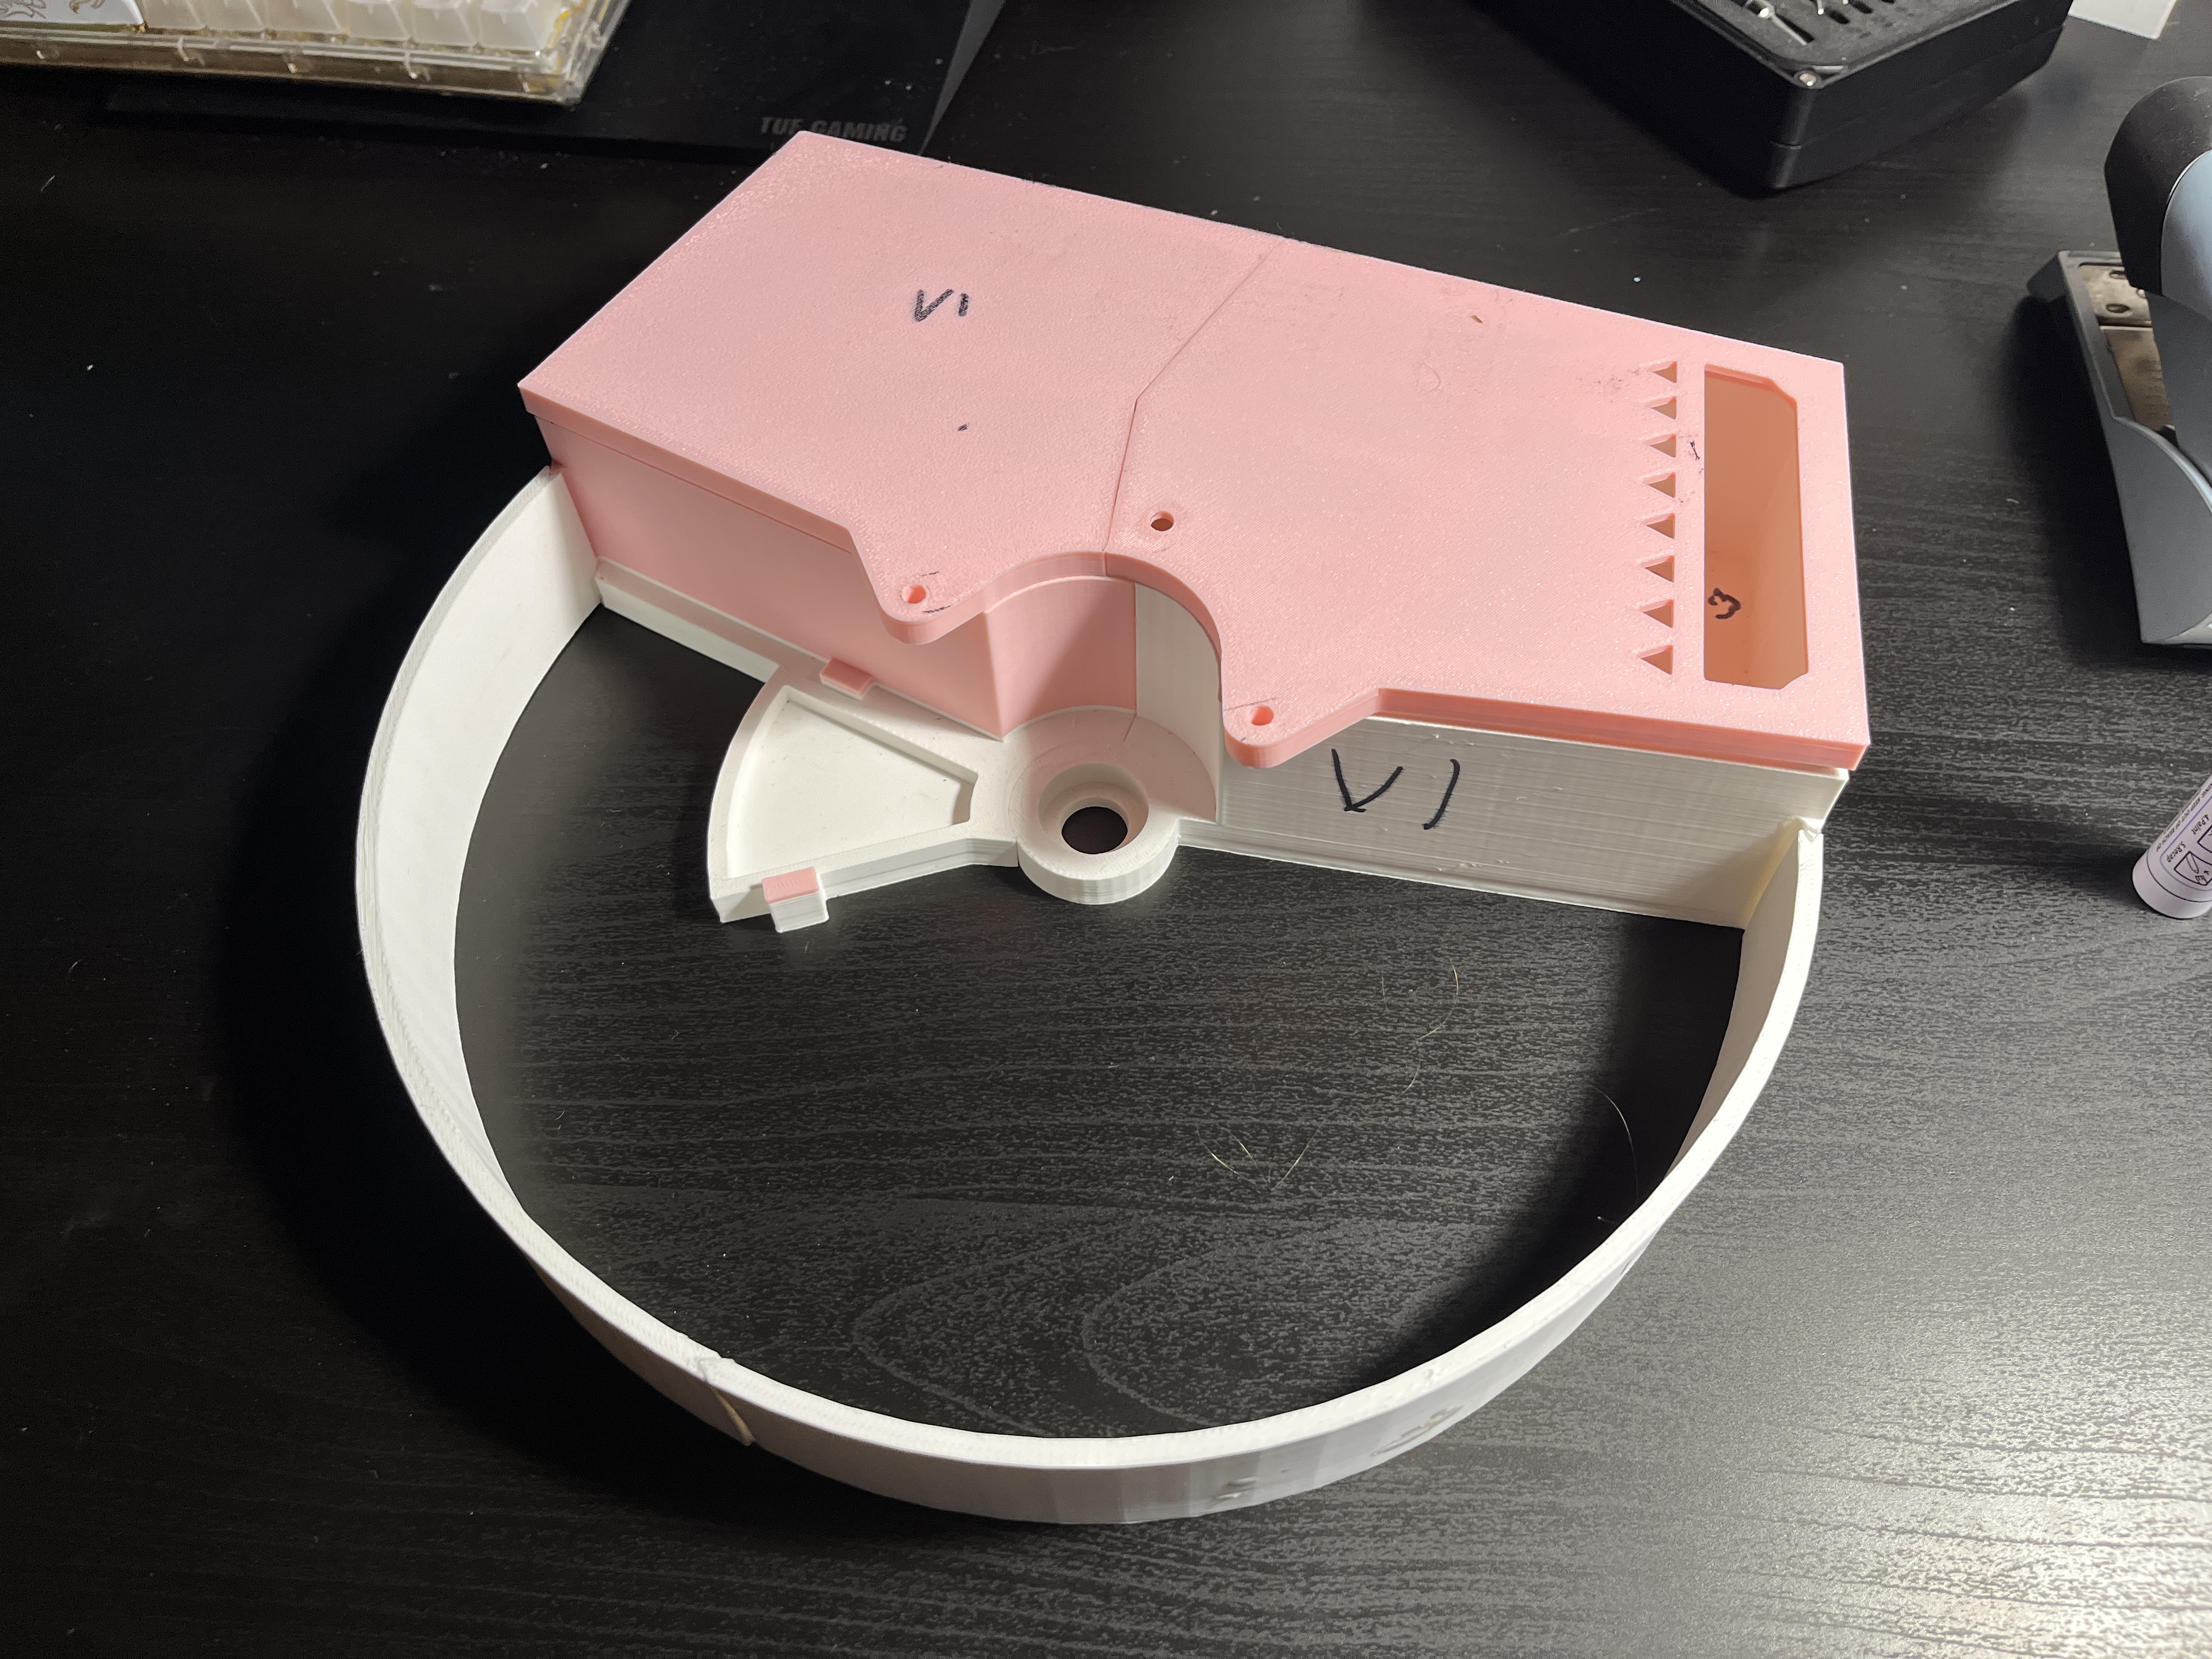
This picture are the prints associated with my first prototype for this vent. I wanted to have a rack and pinion to actuate the vent's dampener. This did not work as the dampener on the vent was very hard to move even by hand power, so a different solution was pursued.

03
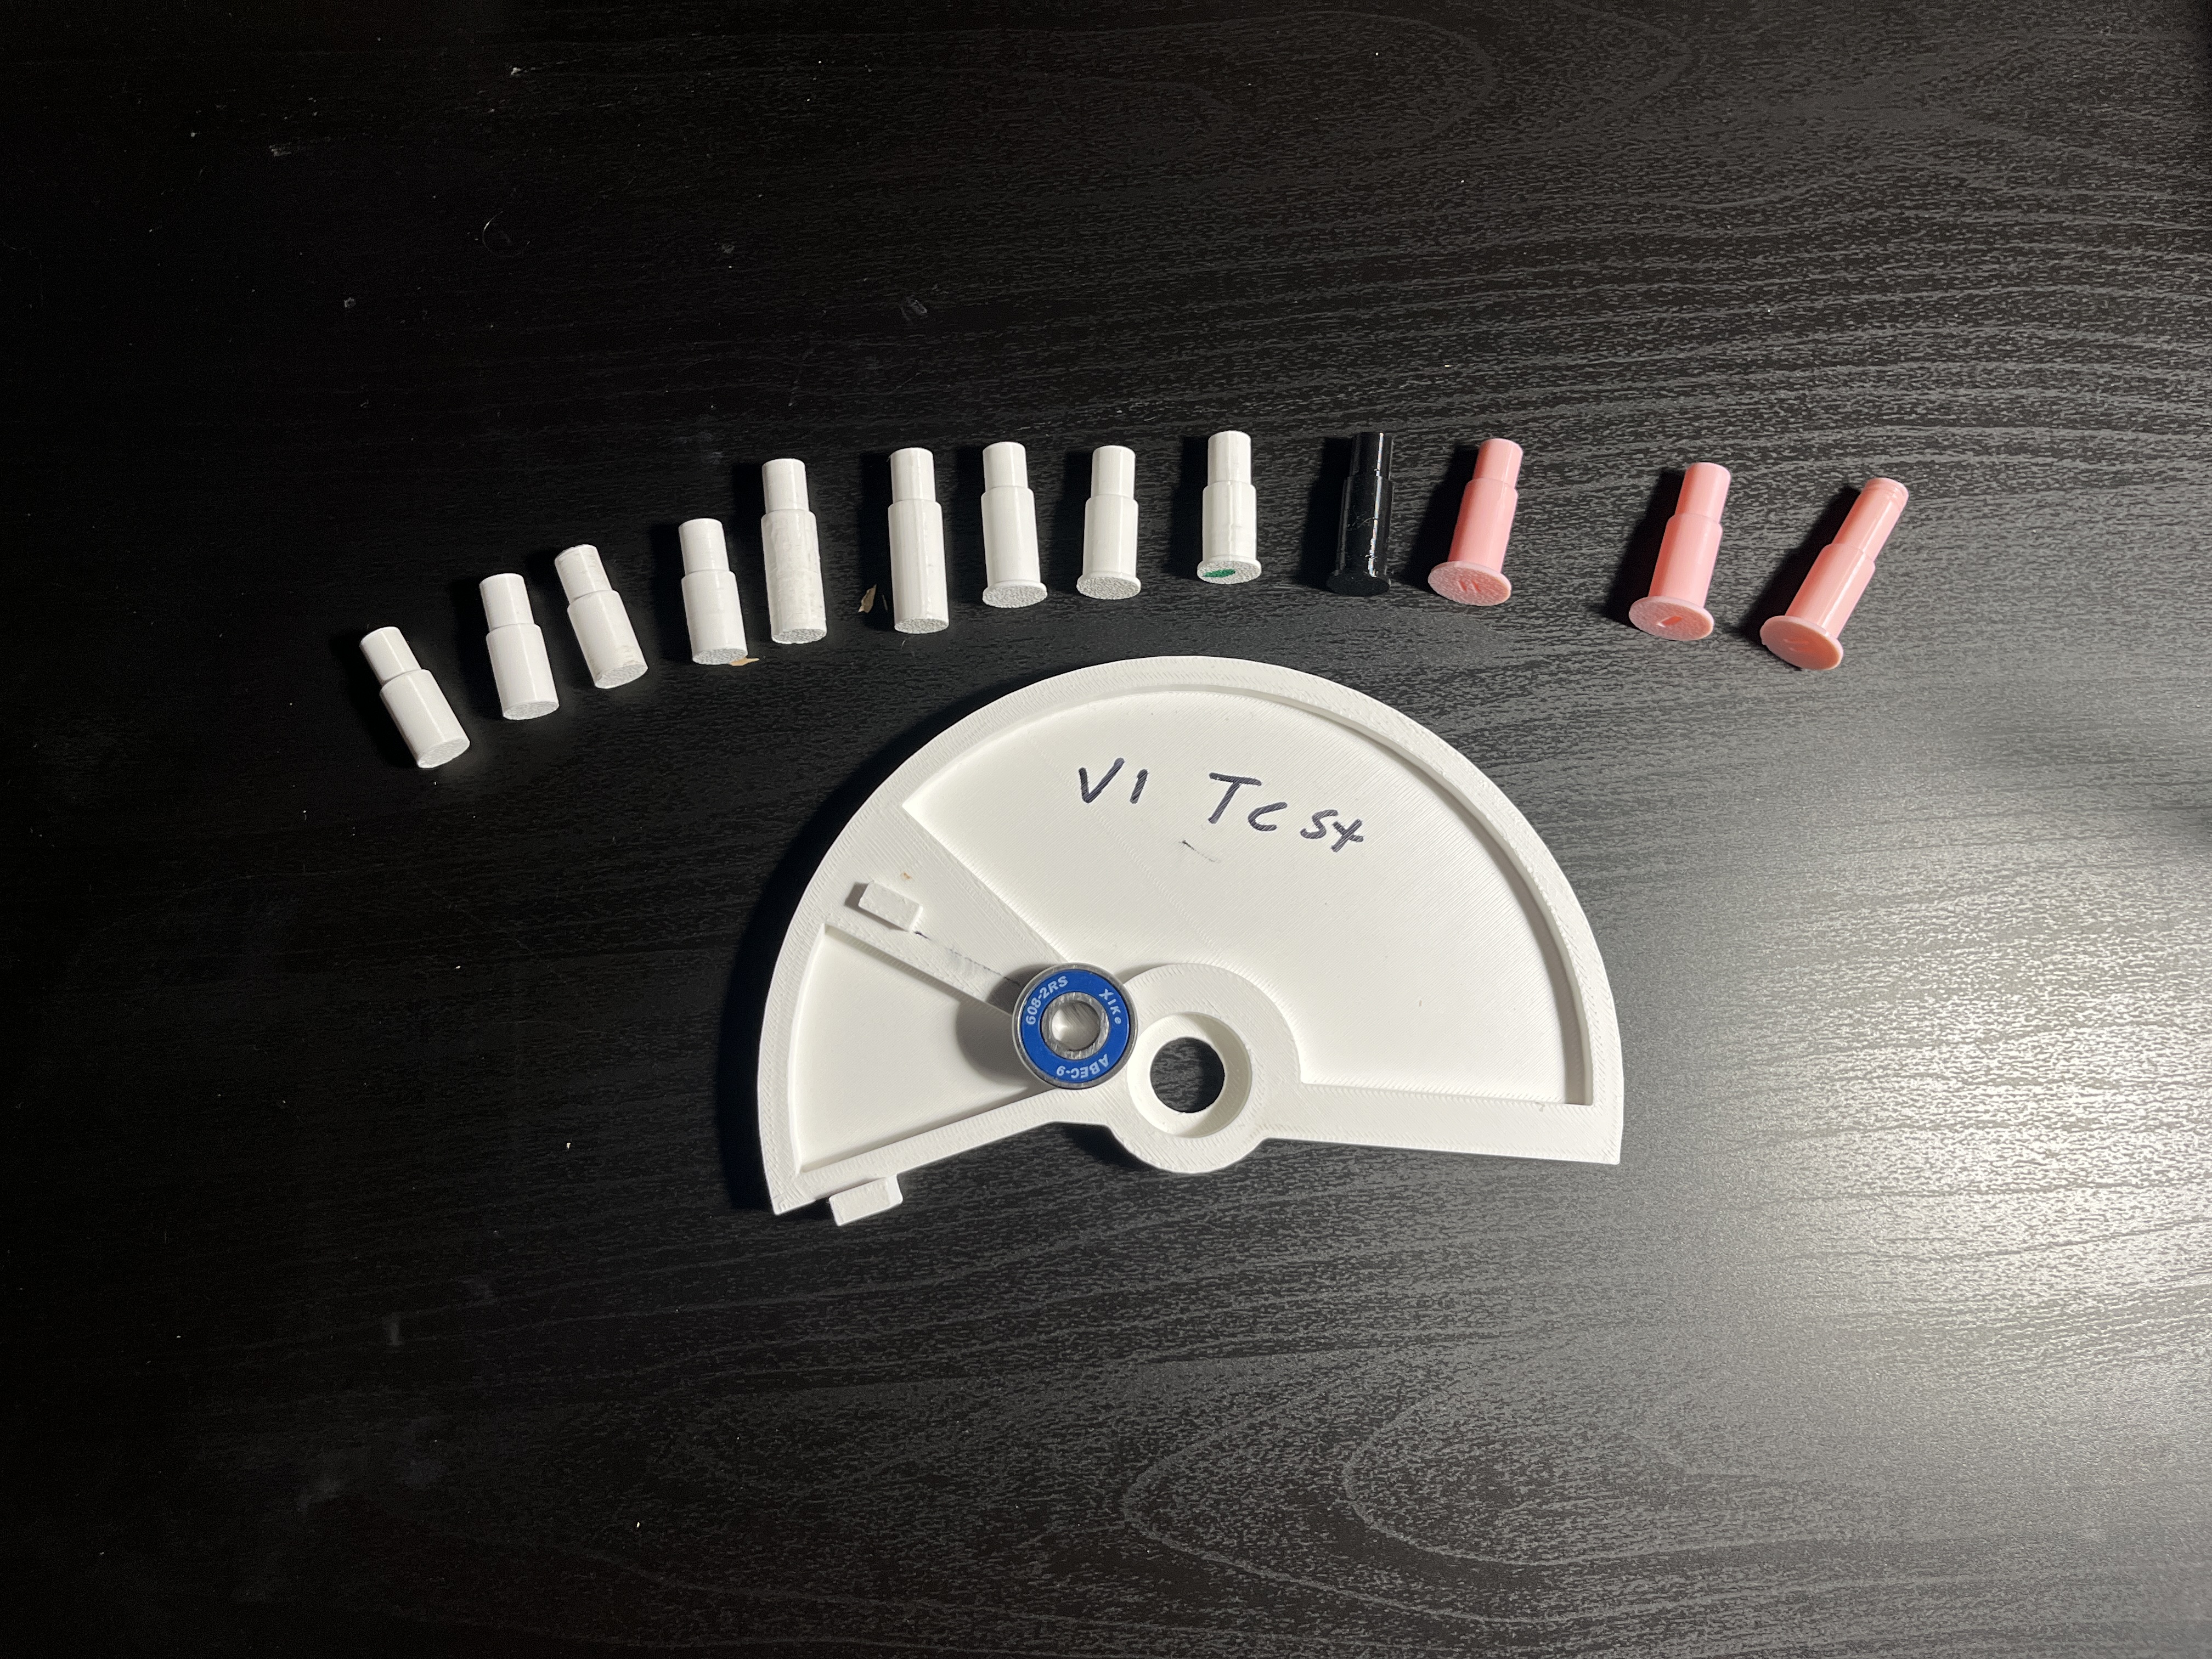
Shaft and Opening Test

04
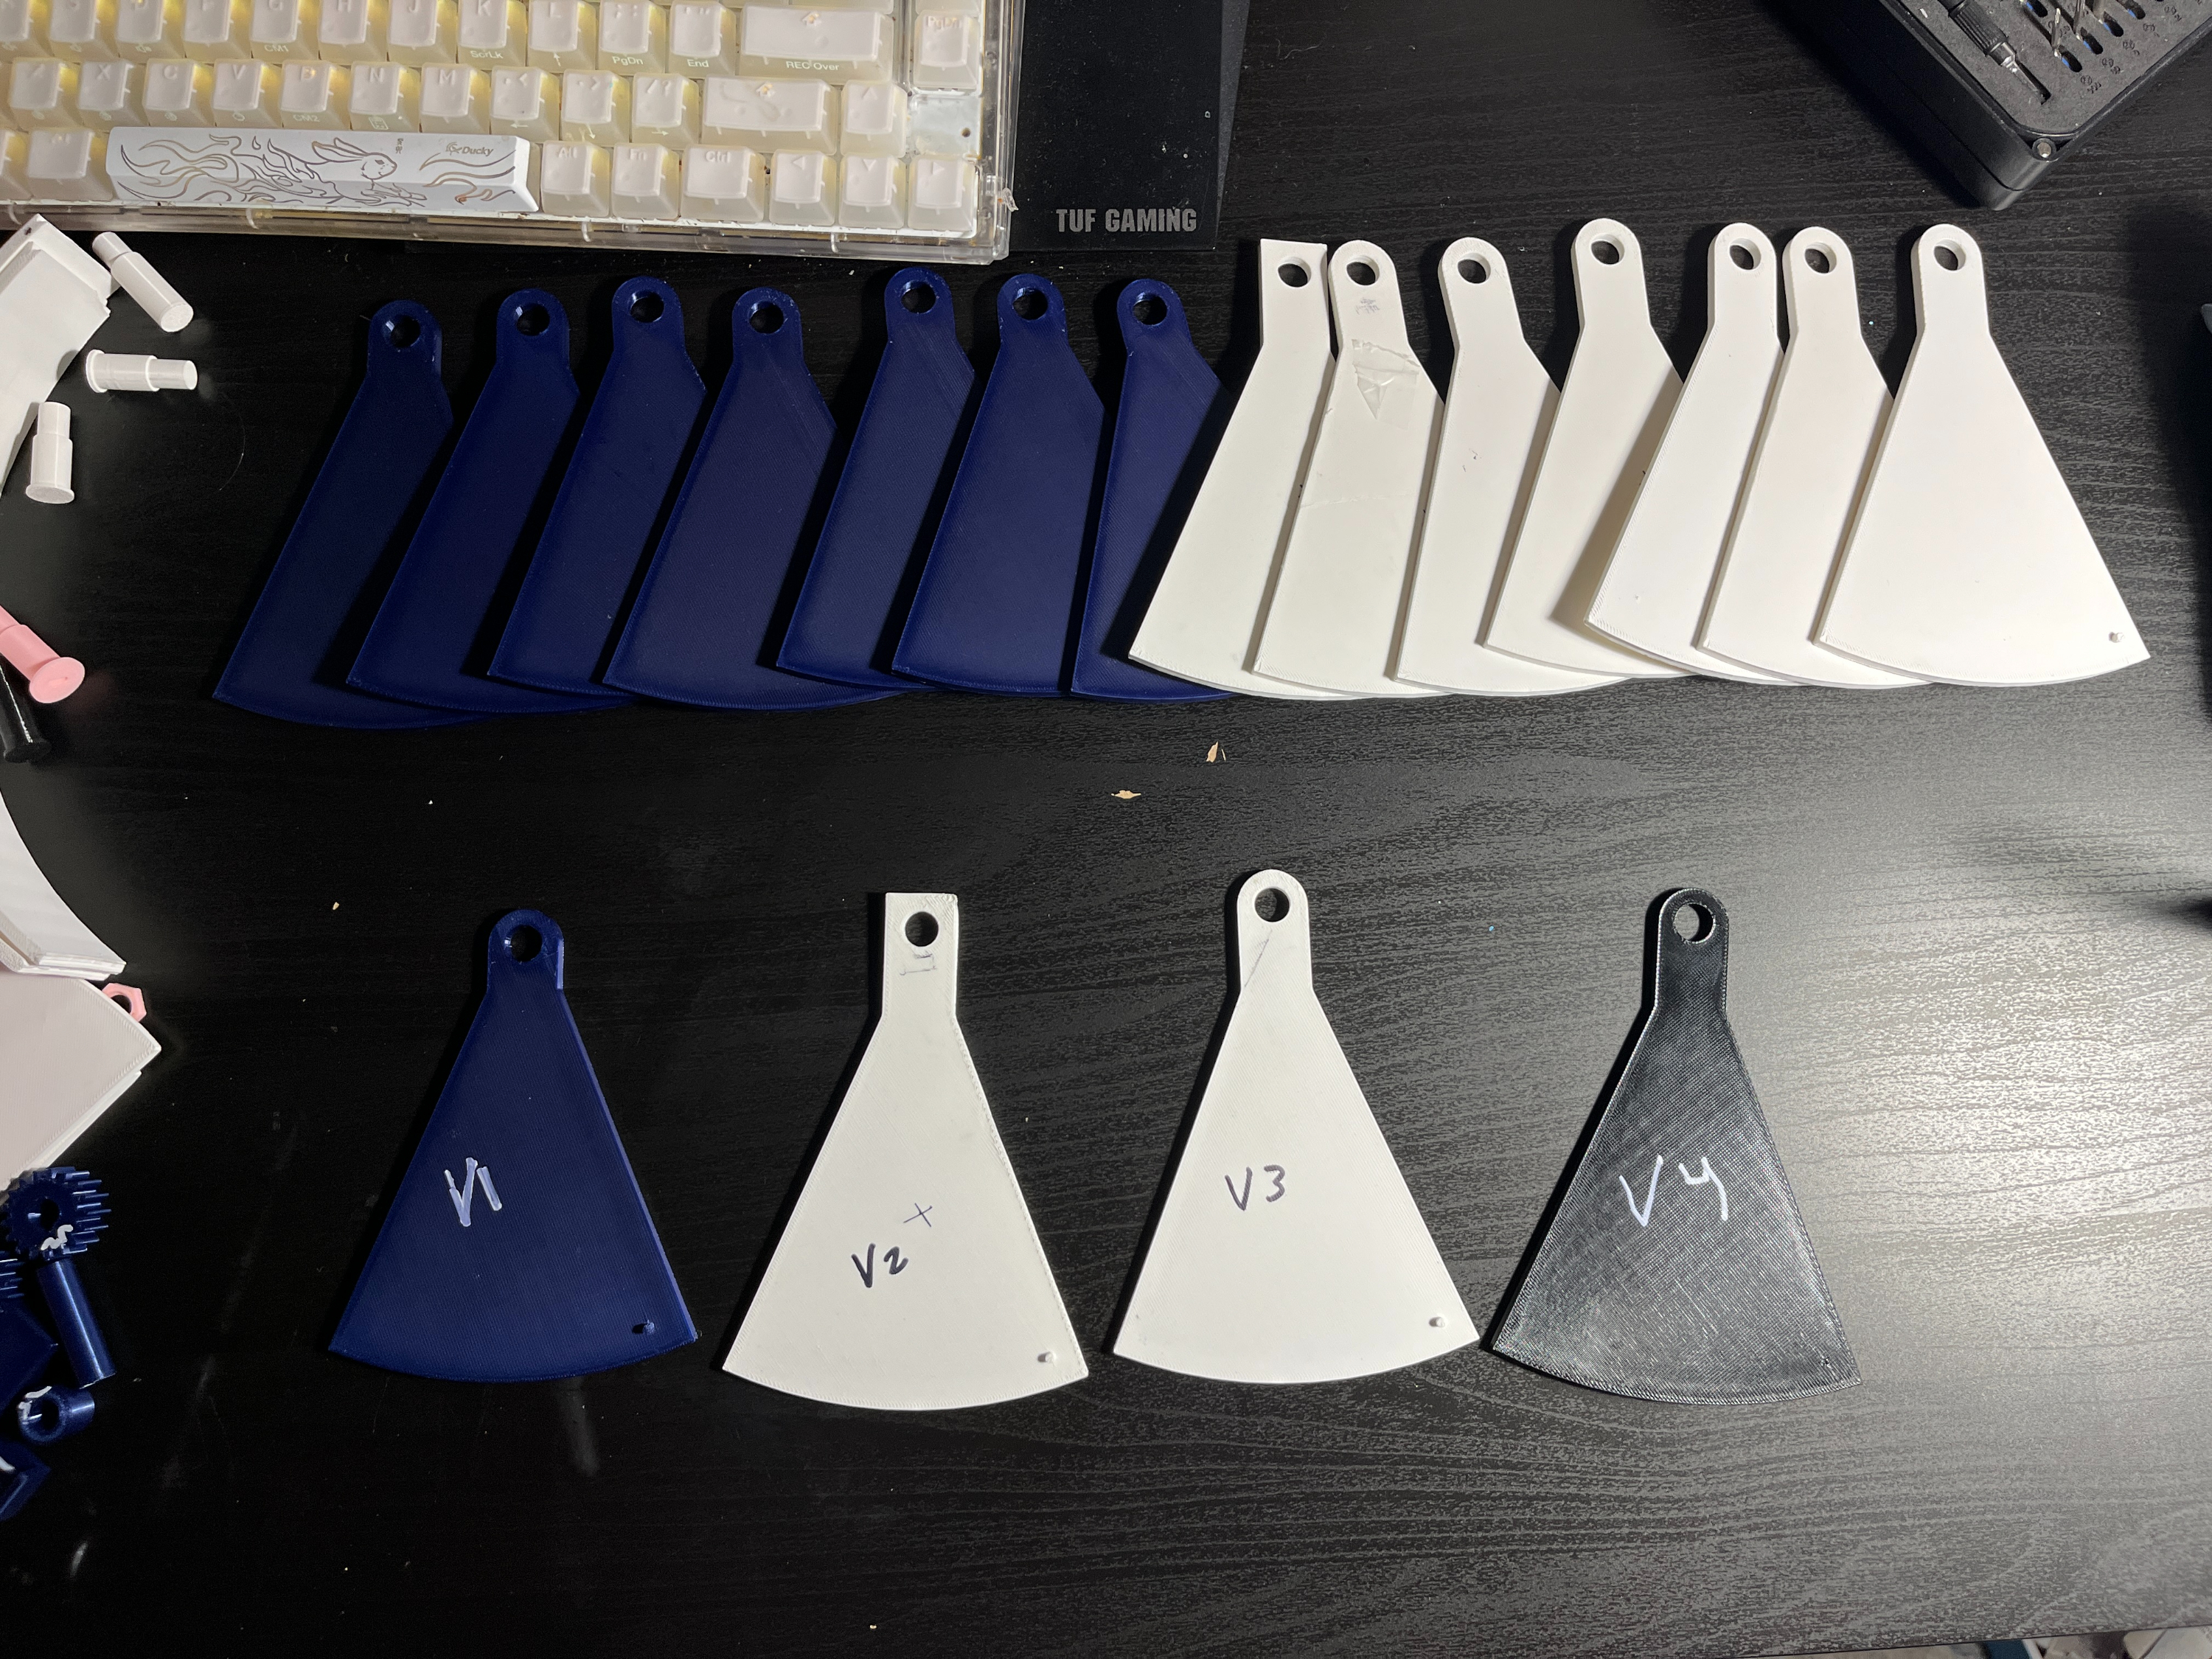
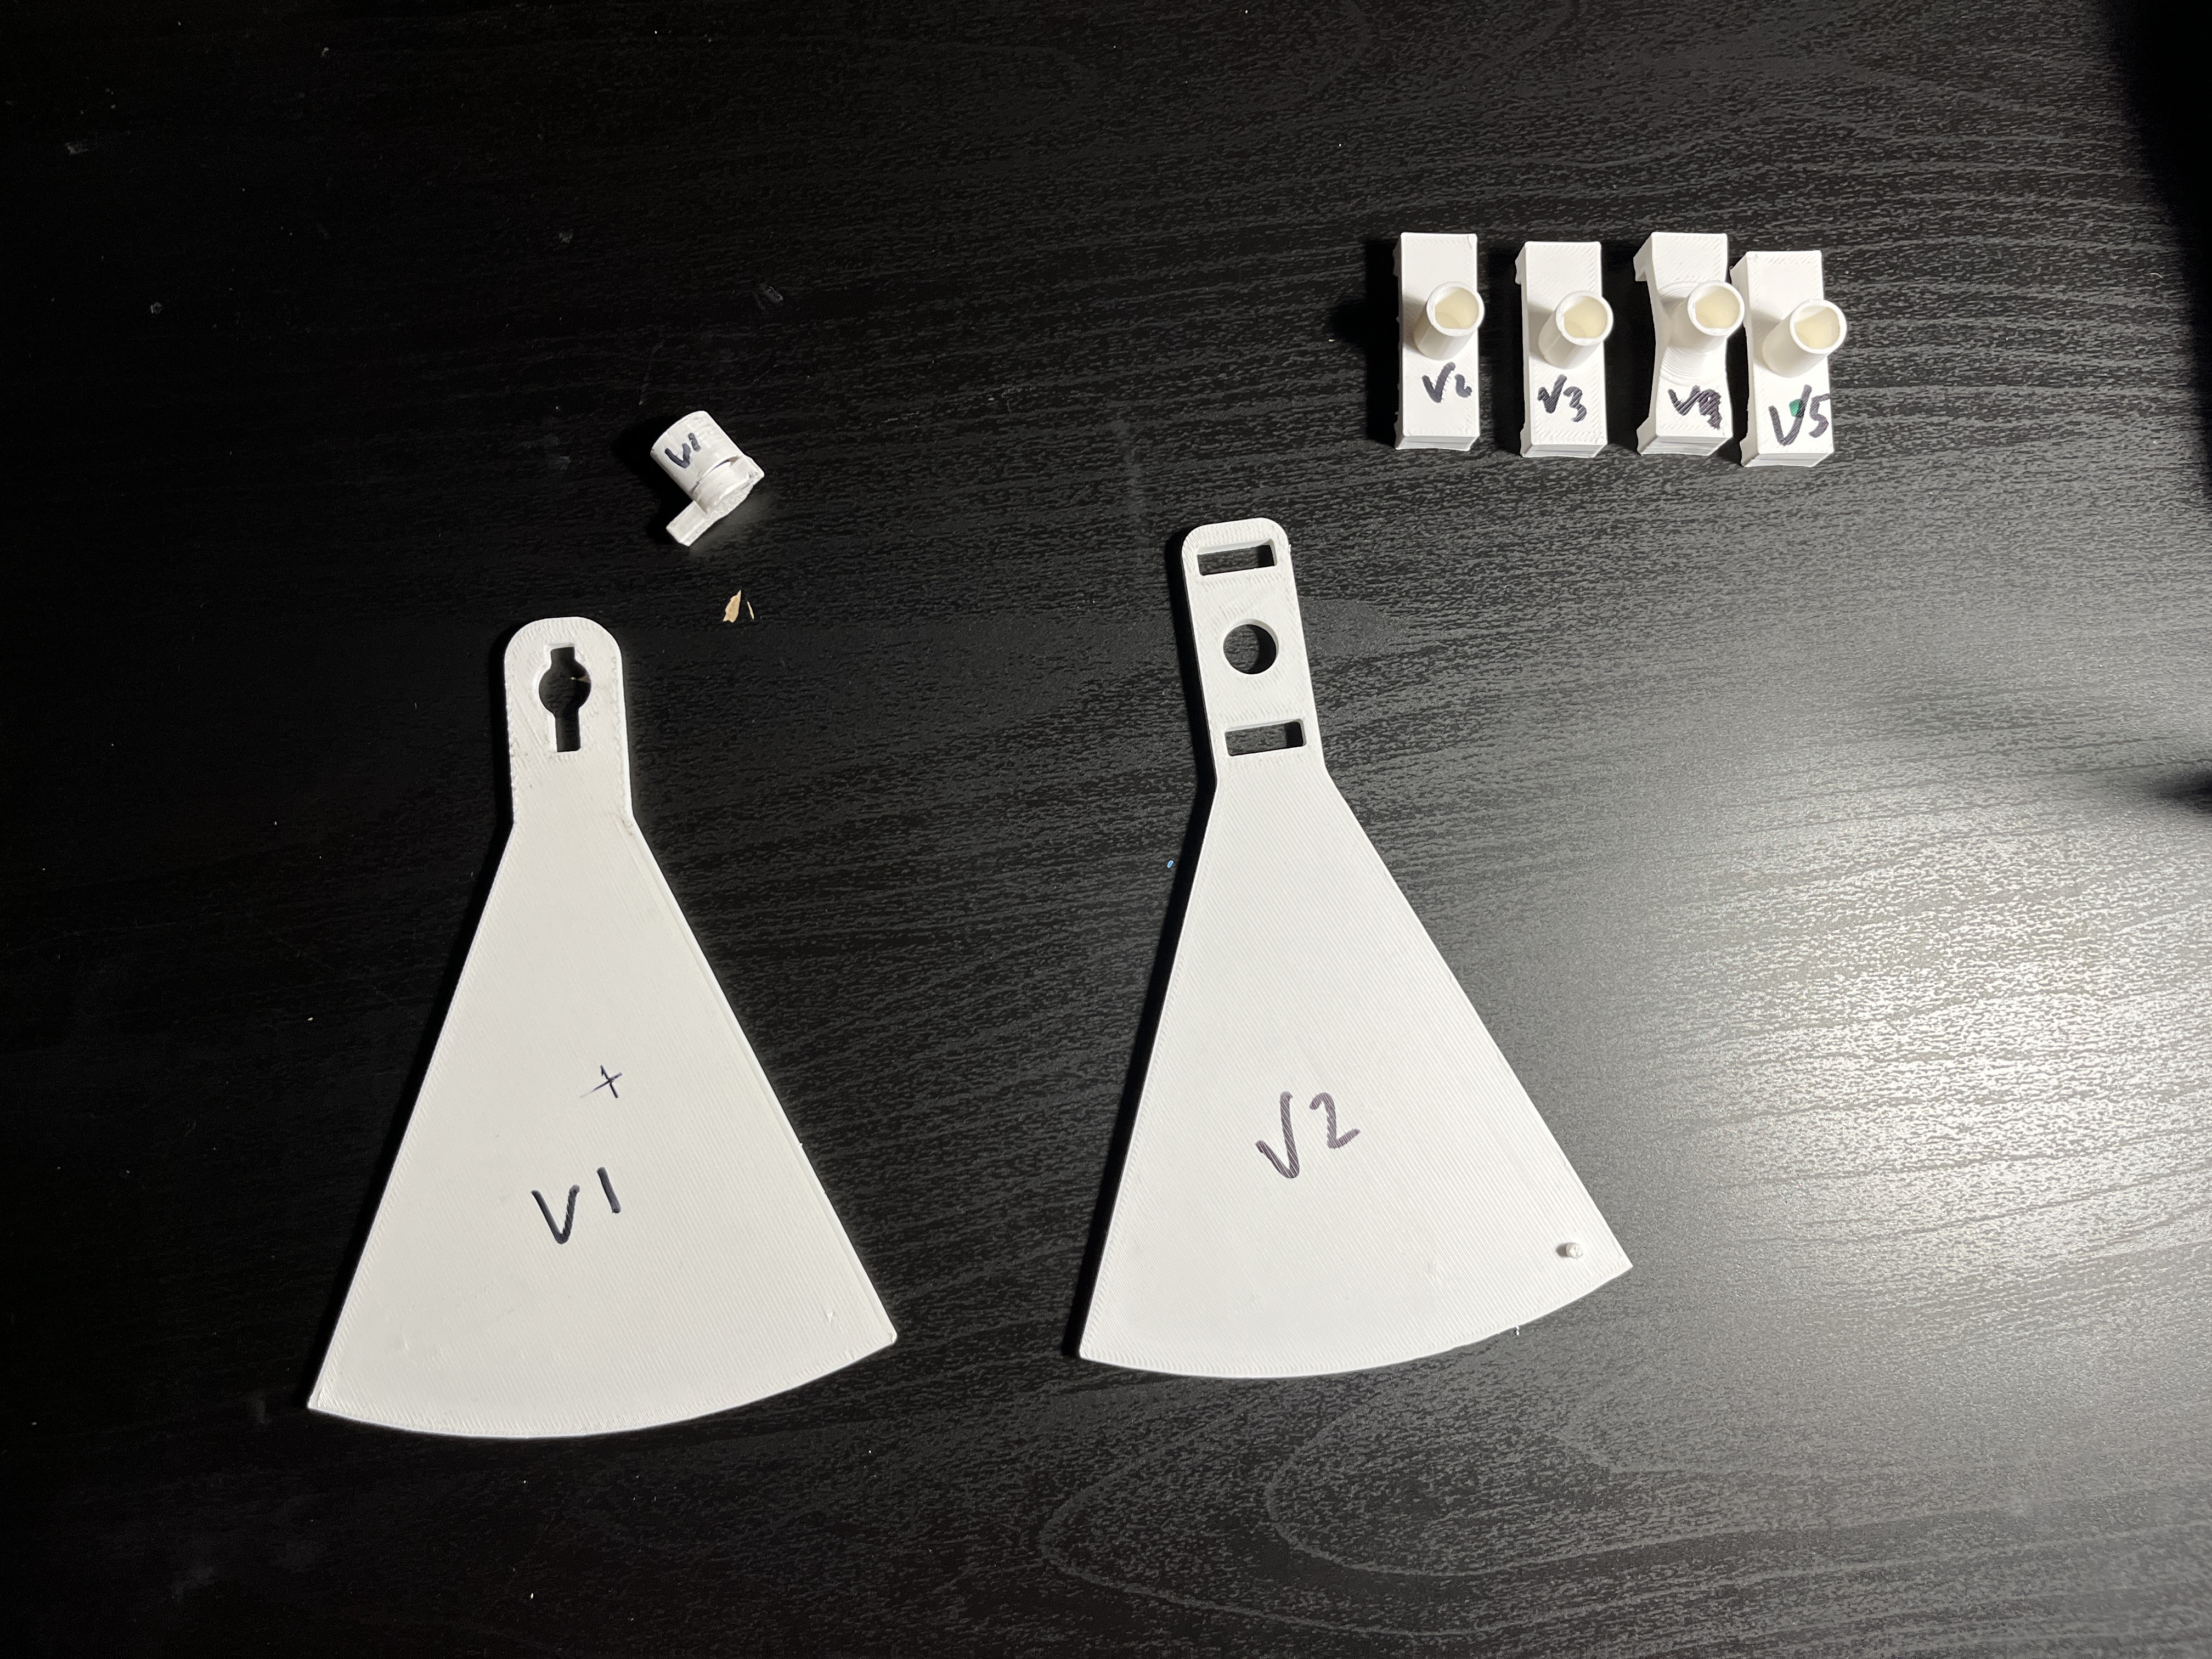
Every 3D Printed Flap
These are all of the 3D printed vent flaps, along with iteration and the amount needed to test geometry and fit. Eventually due to the heat of the air coming out of the vent I had to choose a different material entirely to print the flaps out of. ASA to be specific due to it being easier to print than ABS on my open face printer. And its main pro is its superior temperature resistance compared to PLA.

05
Driving Vent Flap
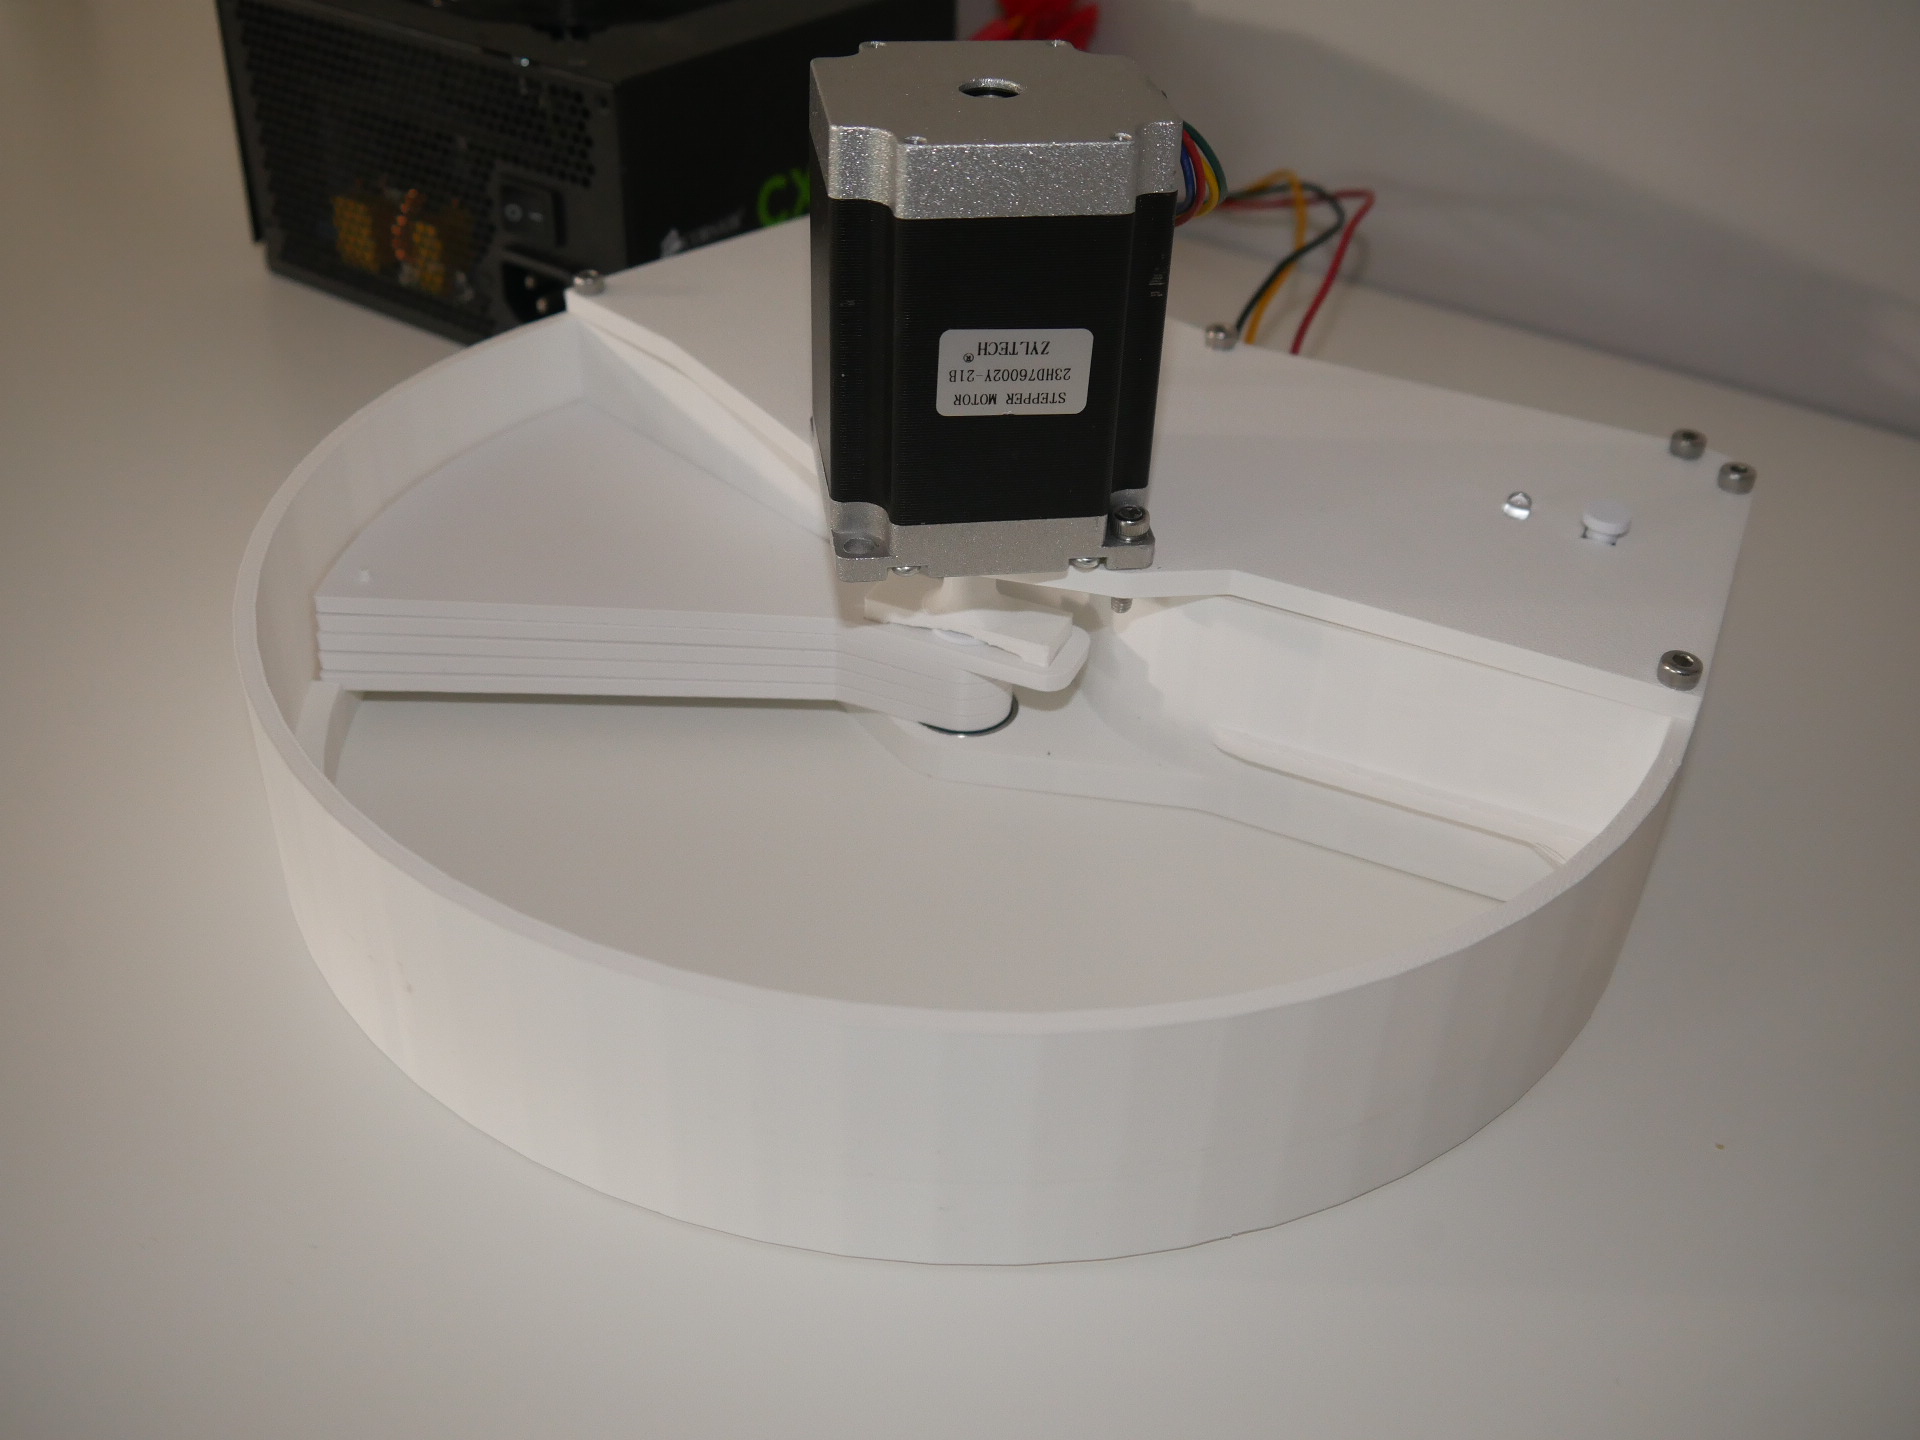
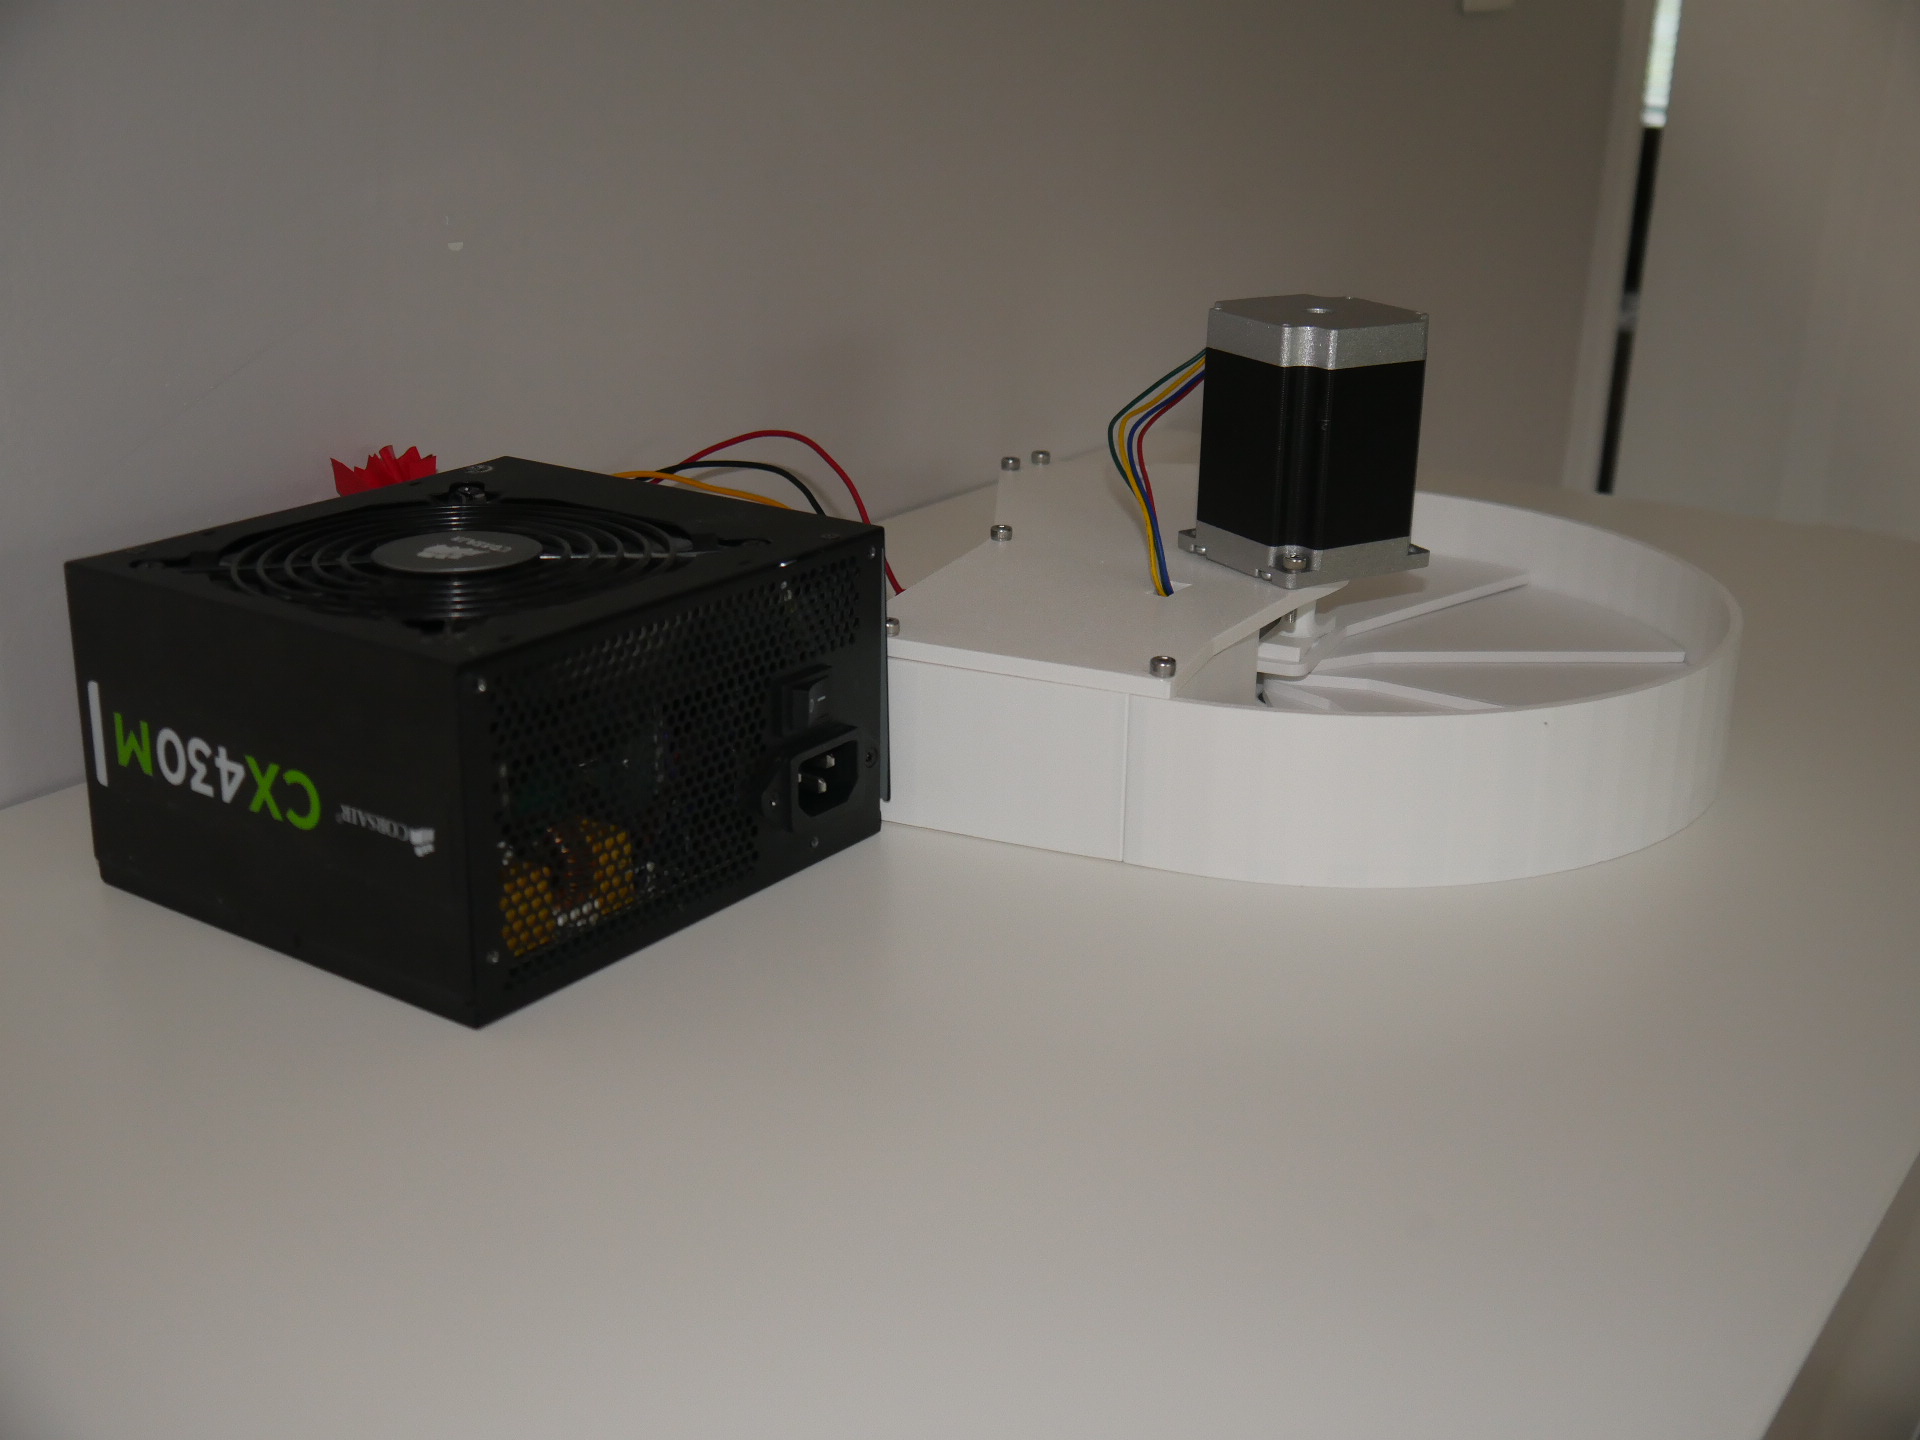
I wanted to use parts I already had, so utilizing a NEMA 23 stepper motor was crucial. Here are all the designs I went through.
06
Automatic Vent Opening on Top of Vent
This video shows the vent actually working in the place it operates.

07
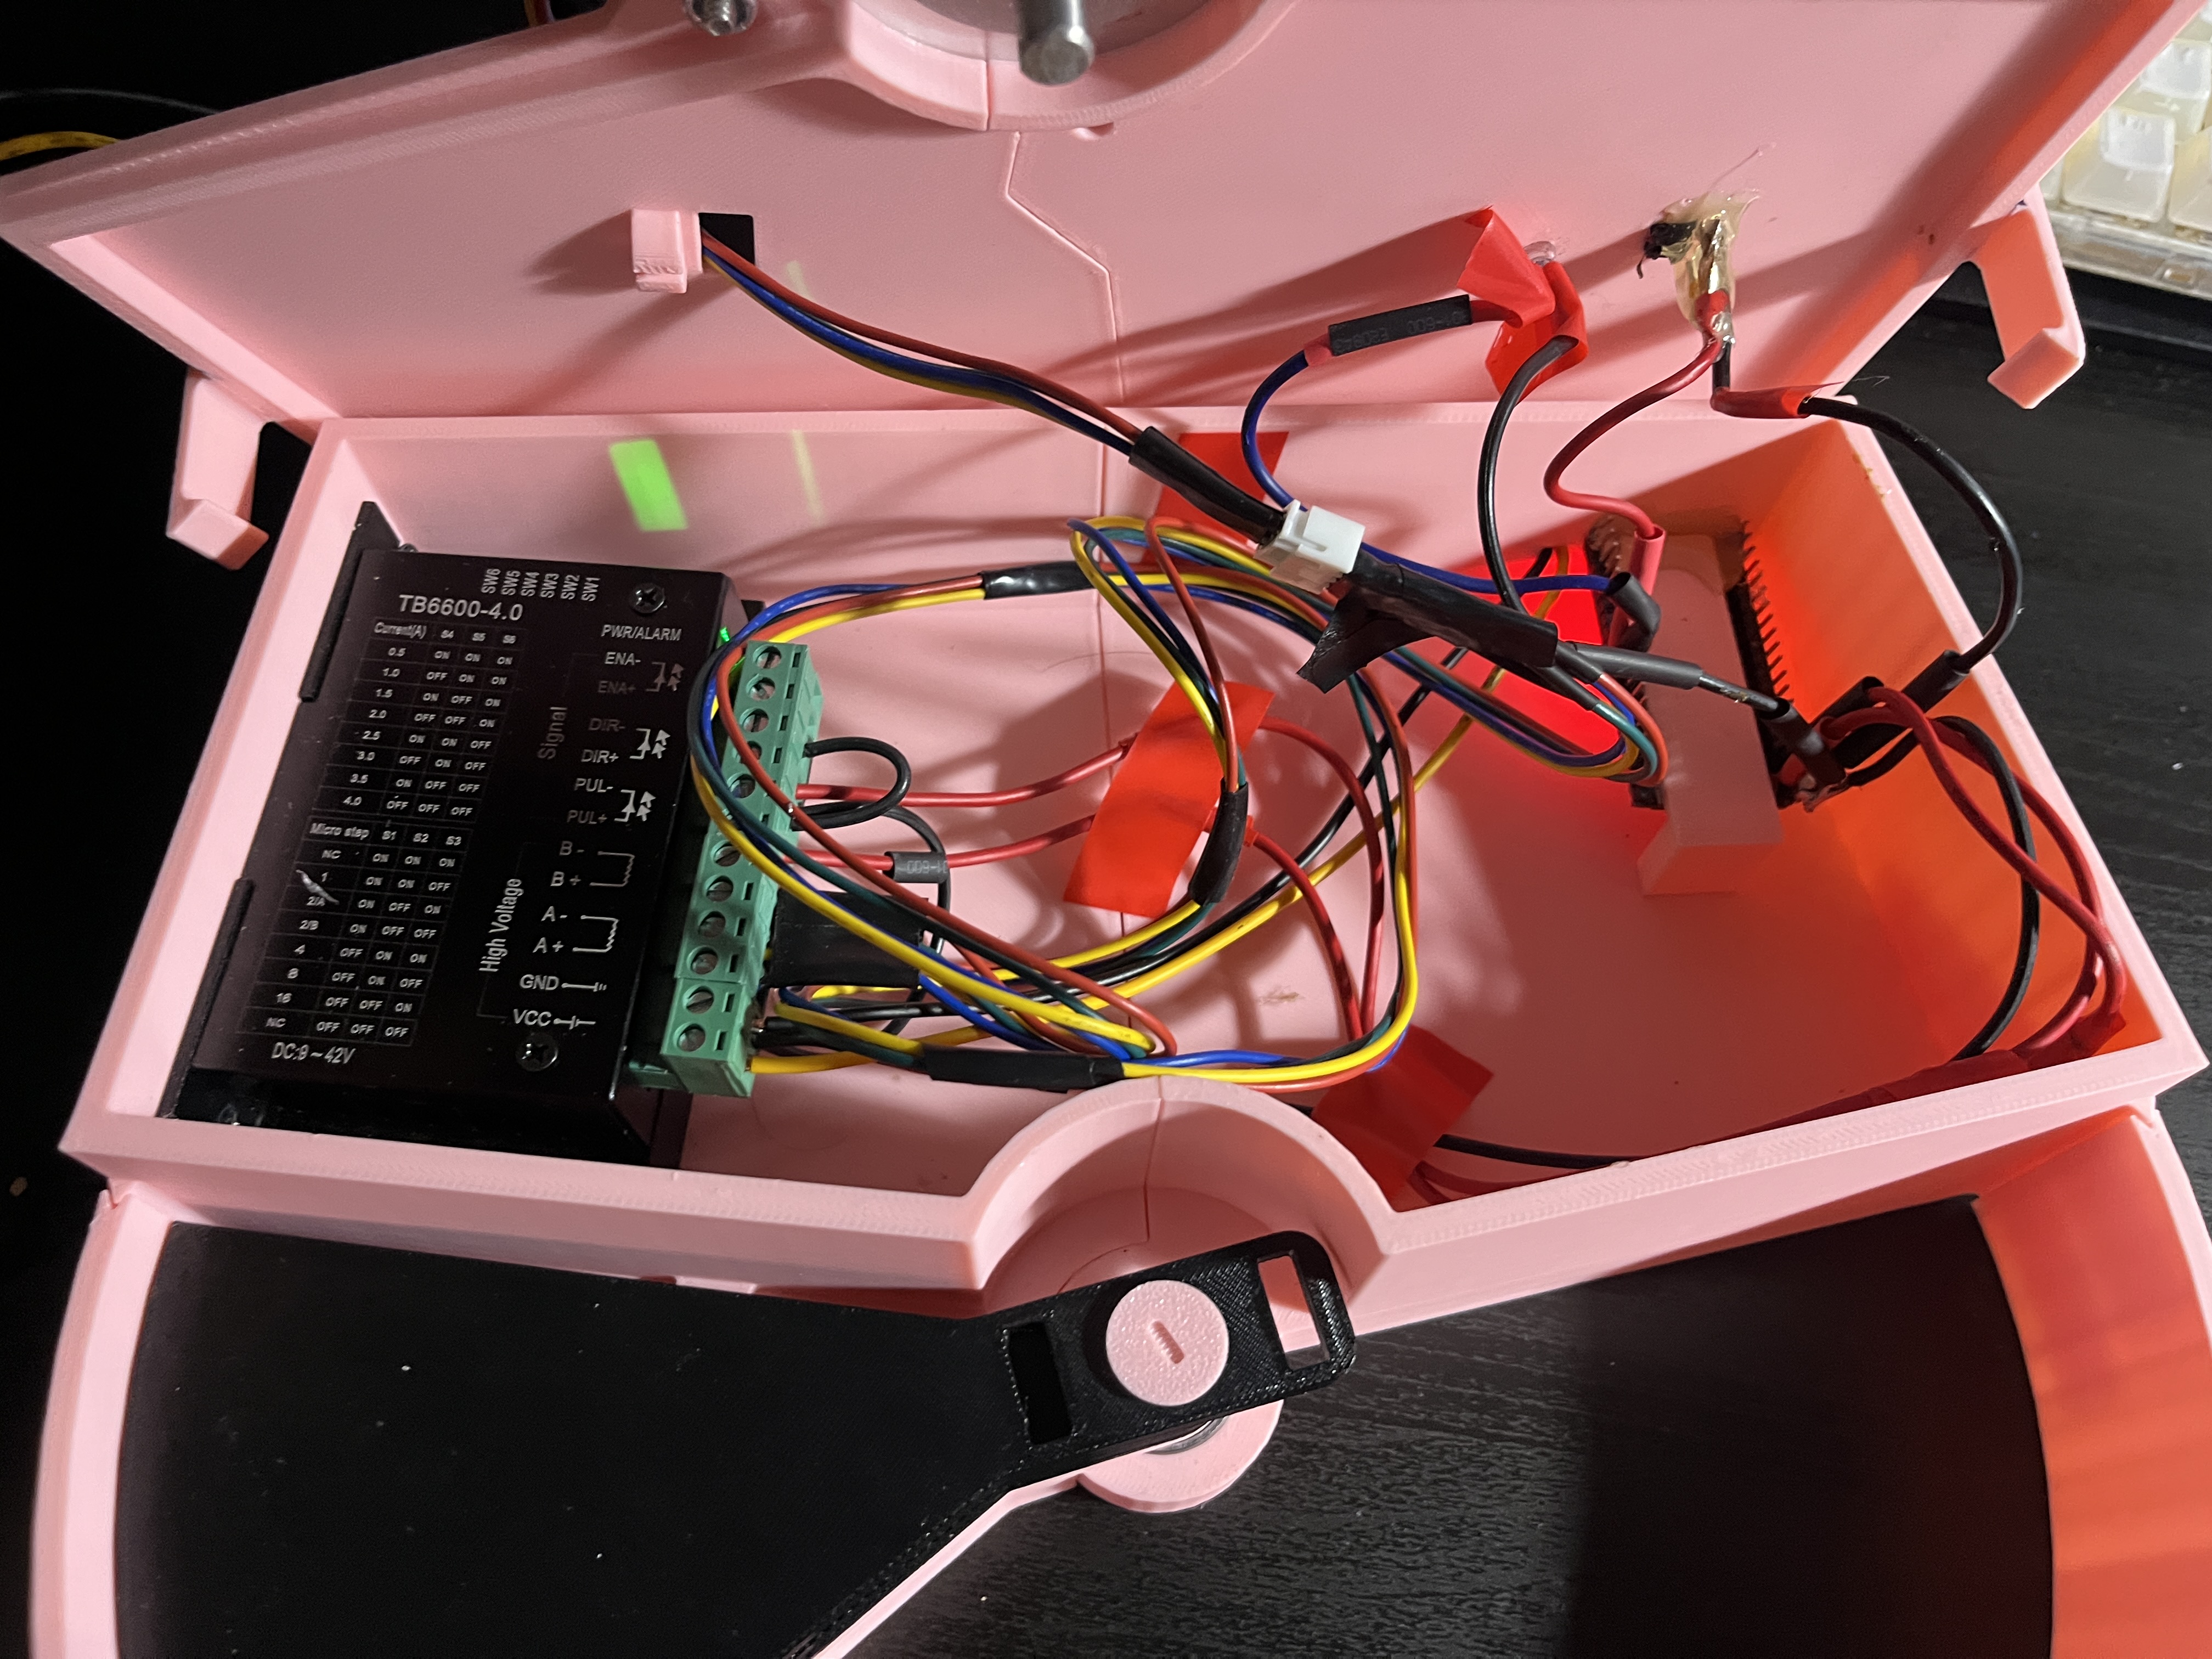
Electronics
Here are the elctronics inside the enclosure. The ESP-32, TB6600, LED, and button all sit nicely inside. I would cut the cables and reduce the clutter, but I want to potentially re-use certain parts of the system.
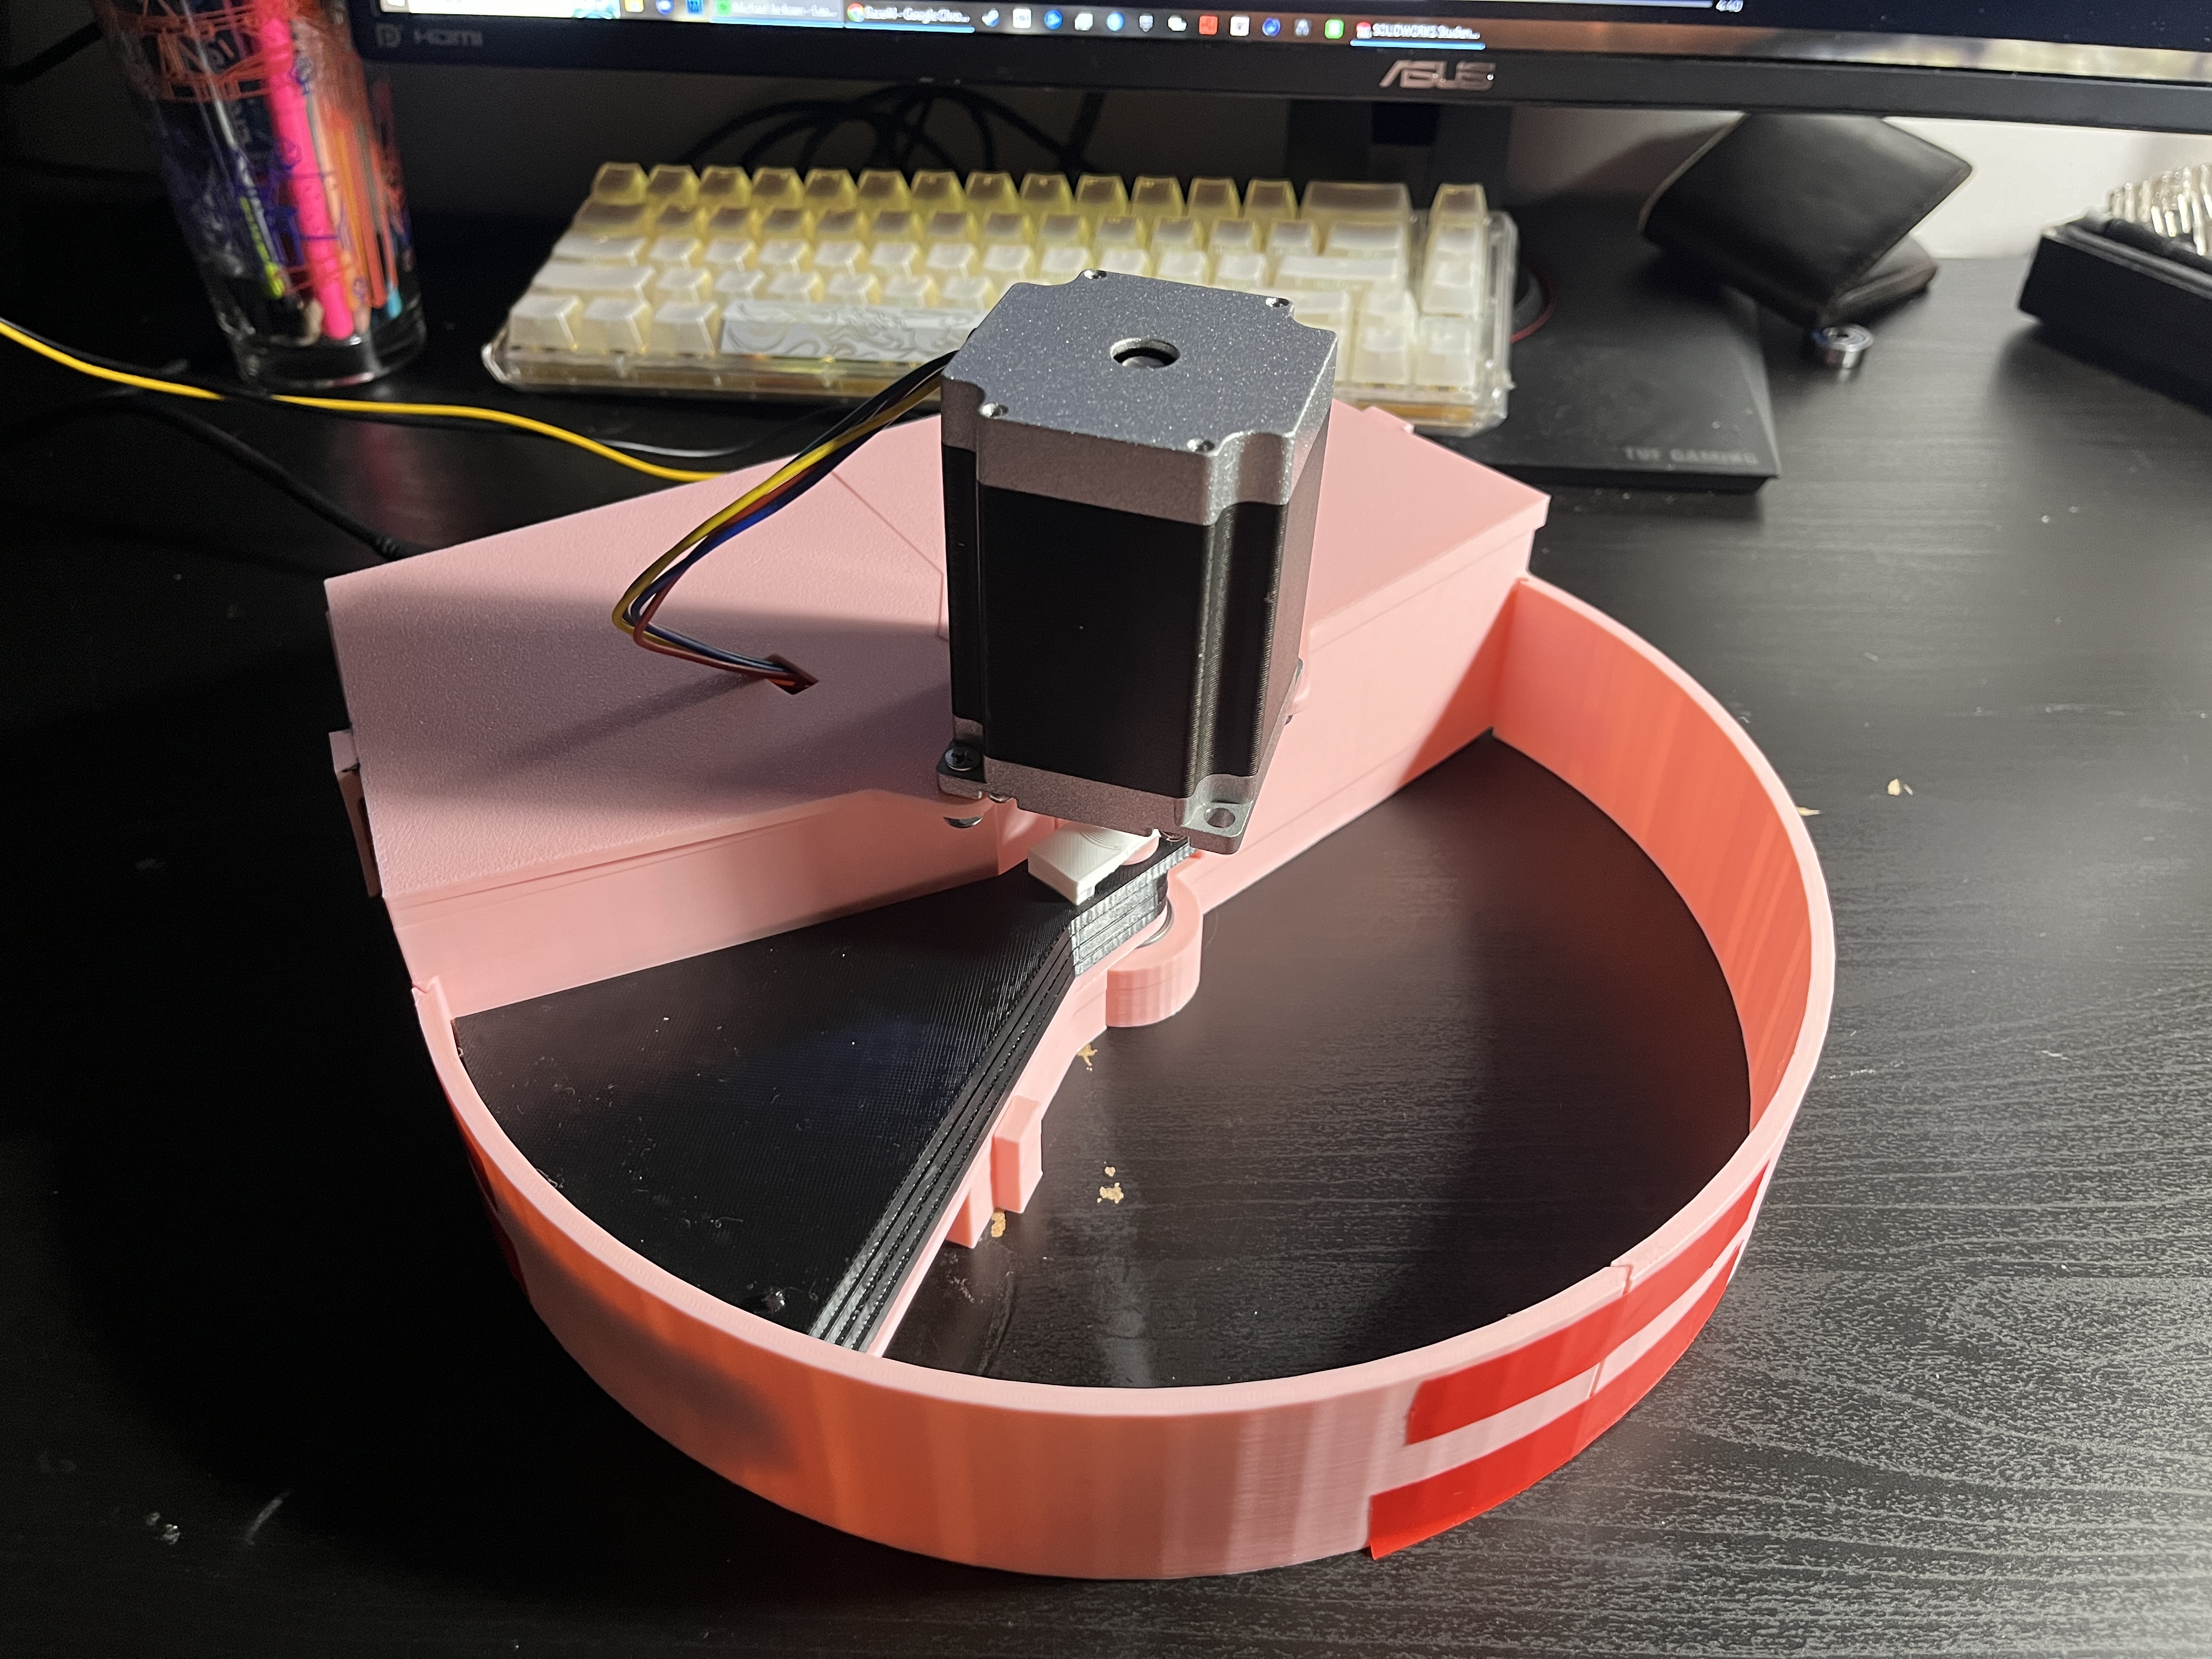
08
Close-up of Driving Mechanism
09
Switching from Cooling Mode to Heating Mode
One thing I wanted to incorperate into the design was an easy way to switch the vent from cooling in the summer and heating in the winter. That is what the heating and cooling mode on the vent are responsible for. With the LED being on (Orange) corresponding to the heating mode, while it being off is the cooling mode.

10
Final Design
I had to print multiple tests on "technology" I wanted to incorperate into the final design. For example, screwing the TB6600 stepper motor driver into the enclosure, I had to figure out certain hole dimensions, outlet, and inlet geometry in order for a screw to self thread itself into the plastic.

11
Shroud on top of Vent
This shroud's purpose is to block the air not going through the vent. Reinforcing the seams of multiple prints with super glue and napkins created a strong bond. Although it is a low technology composite material it is cheap, and worked great in this situation.

12
Wireless Temperature Sender
I wanted to have the temperature module away from the vent, as the tempeature at the vent isn't the temperature of the room. So I created a small wireless temperature module, basically a thermostat.

13
iteration 1 of enclosure
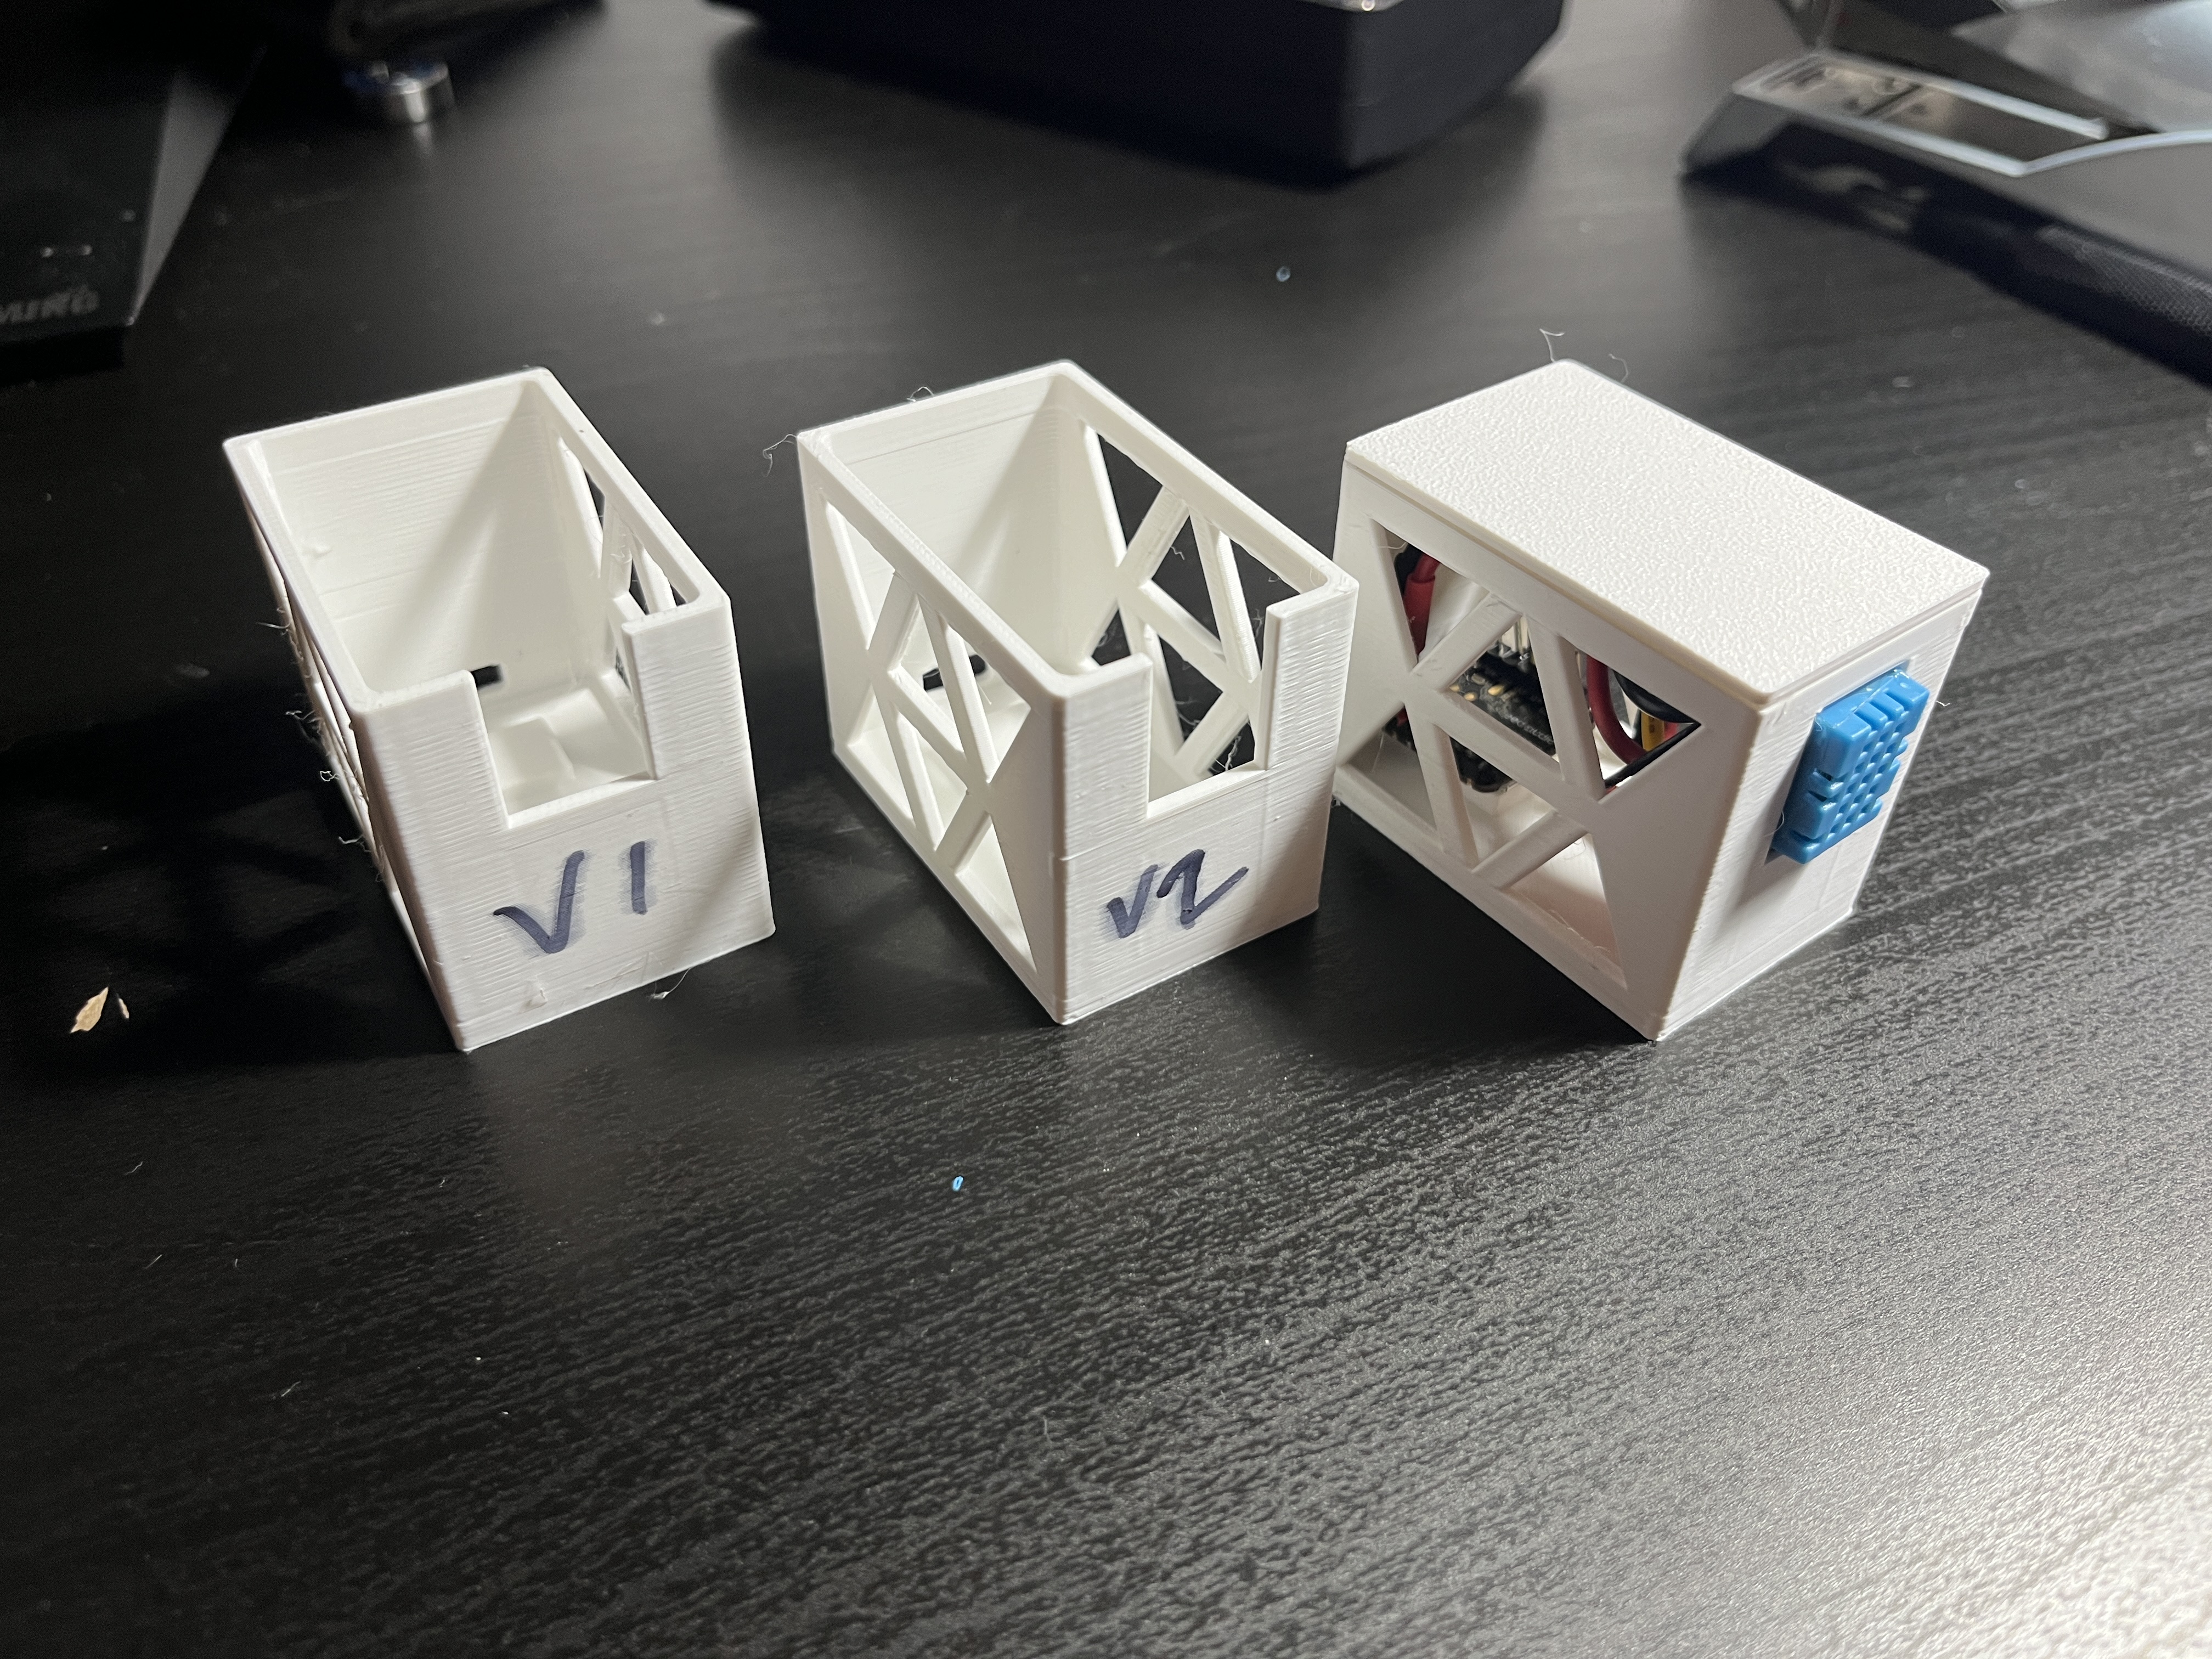
I learned what I wanted in an enclosure and didn't want. Proper planning of cables and how certain electronics will place is the difference between an ergonomic enclosure and a nightmare to put together.

14
Final Design
This design currently resides in my room, on my vent. I am getting better sleep than ever thanks to this thing.

15
Final Design
This is just an alternative view of it.
bottom of page